
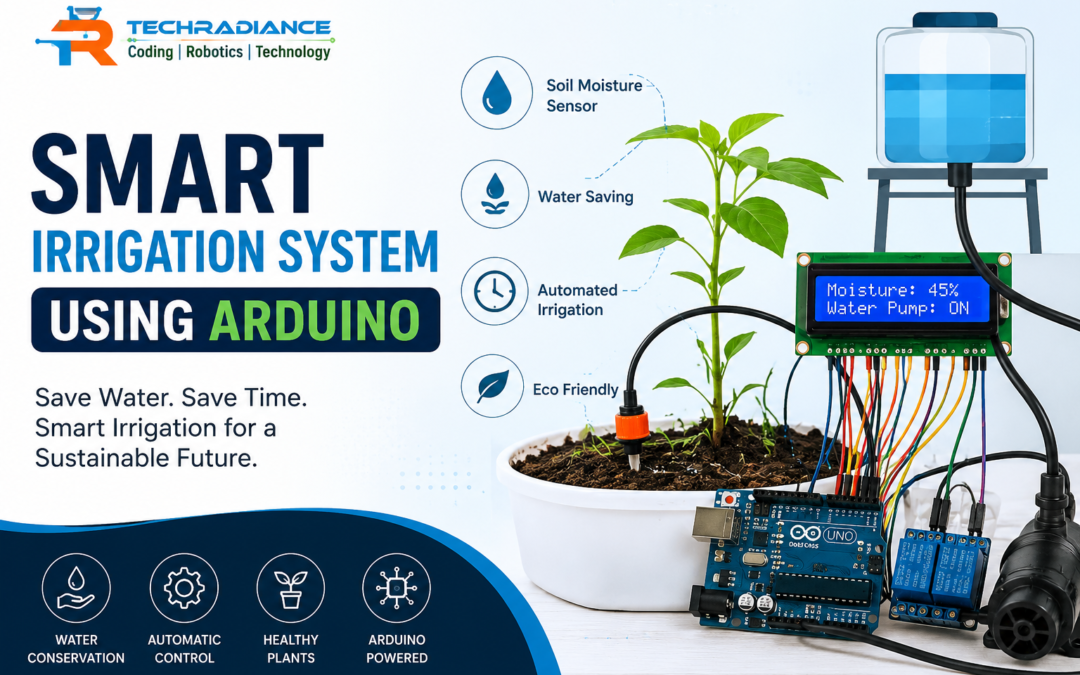
Imagine a plant that receives water on its own when the soil is dry. It is not necessary to inspect the plant again. This is feasible using a Smart Irrigation System Using Arduino.
A smart irrigation system makes use of an Arduino-like computer and soil moisture sensors, as well as a water pump along with a few other basic components. The sensor determines the amount of water present in the soil. If it is dehydrated, the Arduino tells the pump to pump water. When the soil has sufficient moisture, the pump stops.
This project is an easy and engaging way for kids to get familiar with Arduino sensors, electronics programming, and plants, along with water conservation.
In this easy-to-follow guide, we will be able to understand the concept of what a smart irrigation system is, why it is useful, how it works, its benefits, required components, and how students can build an automatic plant watering system using Arduino
Author: Himanshu ( Content Writer)
What Is a Smart Irrigation System Using Arduino?
A Smart Irrigation System Using Arduino is an automated system that waters plants according to the moisture content of the soil.
The system utilises a soil moisture gauge to determine whether the soil is damp or dry. The sensor transmits this info to the Arduino board. Arduino is then able to make an easy choice.
- When the ground is not moist, the water pump is turned on.
- If the soil is sufficiently moist, the water pump is turned off.
This is different from regular watering, in which one has to be aware of when to water the plants.
For students, it is an excellent illustration to show the ways that sensor technology and programming could solve problems in real life.
Why Is Smart Irrigation Important?
They require water in order to grow; however, providing them with too much or insufficient water can result in issues.
If we do not water our plants, they could become too dry. In contrast, a plant that is given excessive amounts of water could waste water and harm the plant.
An intelligent irrigation system aids in solving this problem by providing water only to the soil when it is needed.
It could be helpful in:
- Home gardens
- School gardens
- Small farms
- Greenhouses
- Terrace gardens
- Plant nurseries
- Science exhibits
- Robotics and STEM labs
For students, the project provides a valuable concept: technology can be employed to conserve natural resources.
How Does an Automatic Plant Watering System Using Arduino Work?
The operation of an Automatic Plant Watering System Using Arduino is simple to comprehend.
The soil moisture sensor is located inside the soil. It determines the amount of moisture within the plant’s roots.
When the soil gets wet, the sensors relay data to Arduino. Arduino analyses the information and triggers a relay. The relay functions as an electronic switch that activates the power source, which is the water pump.
The pump collects water from a tank and transmits it to the plant using small pipes.
If the soil is saturated, the sensor will detect the shift. Arduino will then turn the pump off.
Simple Working Process
Soil becomes dry. The sensor detects dryness. Arduino detects the signal, and the pump is turned ON. The plant is flooded – soil is wet. Arduino switches off the pump.
This easy process shows what the inputs, decisions, and output functions are in a computer system.
What Components Are Needed for an Automatic Irrigation System Project?
Students do not require sophisticated equipment to create the basic Automated Irrigation System Project.
The principal elements are:
1. Arduino Board
Arduino is the central part that runs the entire project. It receives data from the sensor and also controls the power source, which is the water pump.
2. Soil Moisture Sensor
This sensor is used to determine if the soil is wet or dry. It transmits the moisture data to an Arduino.
3. Water Pump
The pump transports water from a container into the plant.
4. Relay Module
Relays function as an electrical switch. It aids the Arduino in controlling the flow of water.
5. Water Container
A small container could be used to hold water in a container.
6. Connecting Wires
Jumper wires are used to connect various components.
7. Tubing or Small Pipe
The pipe transports water to and from the.
8. Power Supply
The Arduino and the other components require a power source.
Students may also include an LED or display, buzzer, or any other sensor to enhance the quality of the project.
How to Make an Automatic Plant Watering System Project?
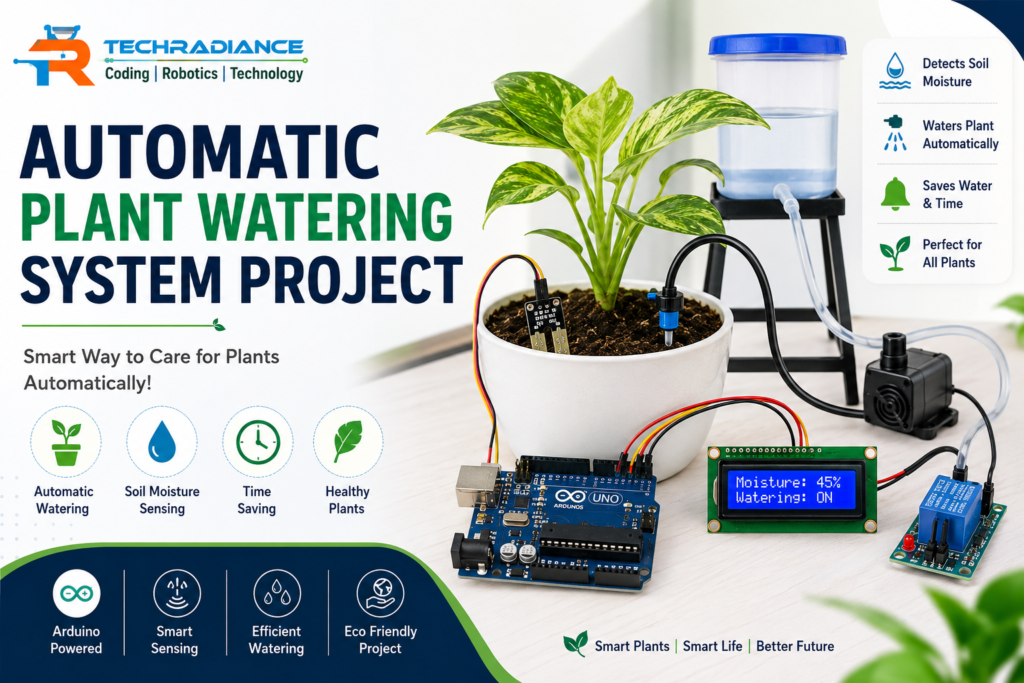
A simple Automated Plant Watering System project can be developed in a couple of easy steps.
Step 1: Prepare the Soil and Plant
Choose a small plant and put it in an earthen pot. Be sure that the soil is easily accessible to the moisture sensors.
Step 2: Place the Moisture Sensor
Place the soil moisture sensor into the soil around the plant’s root. It must be placed in a proper position so that it can detect variations in water.
Step 3: Connect the Arduino
Connect the sensor to the Arduino as per the circuit for the project. The sensor transmits data back to the Arduino.
Step 4: Connect the Relay and Pump
The relay is connected to an Arduino, and it utilises it to regulate the water pump.
Very Important! It is recommended that students work in conjunction with an adult or a teacher in connecting power and electrical components.
Step 5: Add the Water Pipe
Install an end of the pipe close to the plant, and attach the opposite end of the pipe to the pump.
Step 6: Upload the Arduino Program
Arduino requires a tiny program that tells it what it should do.
For instance:
If the soil is dry, turn off the pump.
If the soil is damp, turn off the pump.
Step 7: Test the System
Check the project’s performance by checking the readings of the sensors. If the soil is dry, the pumps must begin. Once enough water has reached the ground, the pump needs to stop.
This is the basic concept of an Automatic Plant Watering System.
What Are the Benefits of a Smart Irrigation System Project?
The Smart Irrigation System Project has many benefits for gardeners, students, and schools.
Saves Water
The system will provide water when the soil requires it, instead of watering plants excessively.
Saves Time
There is no need to manually inspect every plant constantly.
Helps Plants Get Regular Water
Plants may receive water if the soil is dry, and this can aid in healthy development.
Easy to Understand
Arduino-based projects are ideal for those who are new to programming because they can understand the work step-by-step.
Builds STEM Skills
Students will learn about engineering, science, technology, and math through a real-world project.
Improves Coding Skills
Students write basic directions for Arduino and discover how software controls hardware.
Encourages Problem-Solving
Students have to figure out solutions if the sensor, circuit, or pump isn’t working as it should.
What Do Students Learn From This Project?
An Automated irrigation system project isn’t just about watering plants. It could teach students a variety of important skills.
Students can be taught:
- How sensors function
- How does Arduino reads information? Arduino interprets data
- Basic programming
- Simple electronic circuits
- How pumps function
- Concepts of input and output
- Problem-solving
- Conservation of water
- Basic automation
- Technology that is applied in real-world situations
It is perfect as a tool for STEM education as well as robots in classes, science fairs and school labs.
What Is the Difference Between Normal Irrigation and Smart Irrigation?
Normal irrigation generally depends on a single person to decide when they should water plants.
Smart irrigation utilises sensors’ data to determine the best option.
| Normal Irrigation | Smart Irrigation |
| Usually, manual control is required. | Does it work automatically? |
| The person decides when to water. | The sensor provides soil information. |
| It is possible that watering has been forgotten. | The system can react to soil that is dry. |
| More manual work | Much less manual work |
| Limited automation | Utilises sensors and Arduino |
The basic idea is that smart irrigation uses technology to make irrigation more efficient and automated.
How Can Schools Use This Project?
Schools can utilise an Automatic Plant Watering System Using Arduino as an activity in STEM that is practical.
Teachers could have students build the garden of their dreams that they can connect to an Arduino system. Students will then be able to examine what happens to the soil when it is wet and when water is added.
The project may be complemented by lessons on:
- Plants
- Conservation of water
- Electronics
- Coding
- Robotics
- Automation
- Environmental protection
Techradiance, these hands-on projects will help students comprehend concepts by creating and testing real-world models instead of simply studying them.
How Can You Improve the Project?
Once they have mastered the fundamental task, they can then expand the options.
For instance, they may include:
- LCD display
- Water-level sensor
- Sensor for temperature
- Sensor for rain
- Multiple soil moisture sensors
- Mobile monitoring
- Solar power
- Automatic scheduling
A more sophisticated system could monitor different plants and regulate the amount of watering each plant independently.
This demonstrates to students how a basic classroom project could be transformed into a bigger IoT and smart agriculture project.
Student Testimonials
The testimonials below serve as examples of educational content. They should be replaced by verified student/customer feedback prior to publication.
Testimonial 1
Aarav, Class 6 Student
“Building this Arduino irrigation program helped me to understand sensors. I enjoyed watching the pump come on when the soil got dry.”
Testimonial 2
Ananya, Class 7 Student
“I thought that coding was a challenge; however, this project made it much easier to grasp. I discovered that Arduino can be used to control real objects.”
Testimonial 3
Rohan, Class 8 Student
“My favourite part was testing the humidity sensor. It was thrilling to see how the system could tell that the plant needed water.”
Testimonial 4
Meera, Class 7 Student
“This project showed me how technology can be used to conserve water. I was happy to build something that could be useful in real gardens.”
Final Thoughts:
A Smart Irrigation System Using Arduino is a basic but effective project that teaches you how technology can help solve common issues.
Through the combination of an Arduino board, a soil moisture sensor relay, and a water pump, students can build an Automatic Plant Watering System that reacts to the conditions of the soil.
Additionally, it teaches students about electronic programming, sensors, automation, water conservation, and STEM in fun and practical ways.
If it’s used as an automatic irrigation system project as the school science model, or even as a robotics lab exercise, students are given the chance to learn by doing.
Schools looking to introduce students to Arduino and robotics programming, STEM and AI project ideas, and Techradiance will help you create interactive educational experiences to make the technology more accessible to understand and more enjoyable for children and students
Frequently Asked Questions:
1. How to create a Smart Irrigation System?
To build an intelligent irrigation system, connect a soil moisture sensor, a controller relay, and a water pump. The sensor can detect dry soil and inform the controller that it should turn on the pump. If the soil is moist, the pump shuts off.
2. Can I make a Smart Irrigation System without Arduino?
Yes. You can make a smart irrigation system without Arduino by using other controllers such as ESP32, ESP8266, or a simple moisture-sensor-based circuit. In IoT applications, ESP32 is a popular option.
3. What IoT sensor is used in a Smart Irrigation System?
The sensor for soil water is the most important sensor that is used in a sophisticated irrigation system. It monitors the amount of moisture in the soil. It aids the system in determining which plants require water.
4. How Much Does a Smart Irrigation System Cost?
A basic smart irrigation system may cost between Rs. 500 and Rs. 22,000 based on the Arduino IoT board and sensors, pumps, and other parts. Advanced systems that have many sensors, as well as mobile surveillance, may be more expensive.
5. Can school students make an automatic plant watering system project?
Yes, school children can design an automatic plant watering system under the guidance of an adult or teacher. It’s a fantastic STEM project to learn about sensors, Arduino, and coding, as well as electronics, along with water conservation.