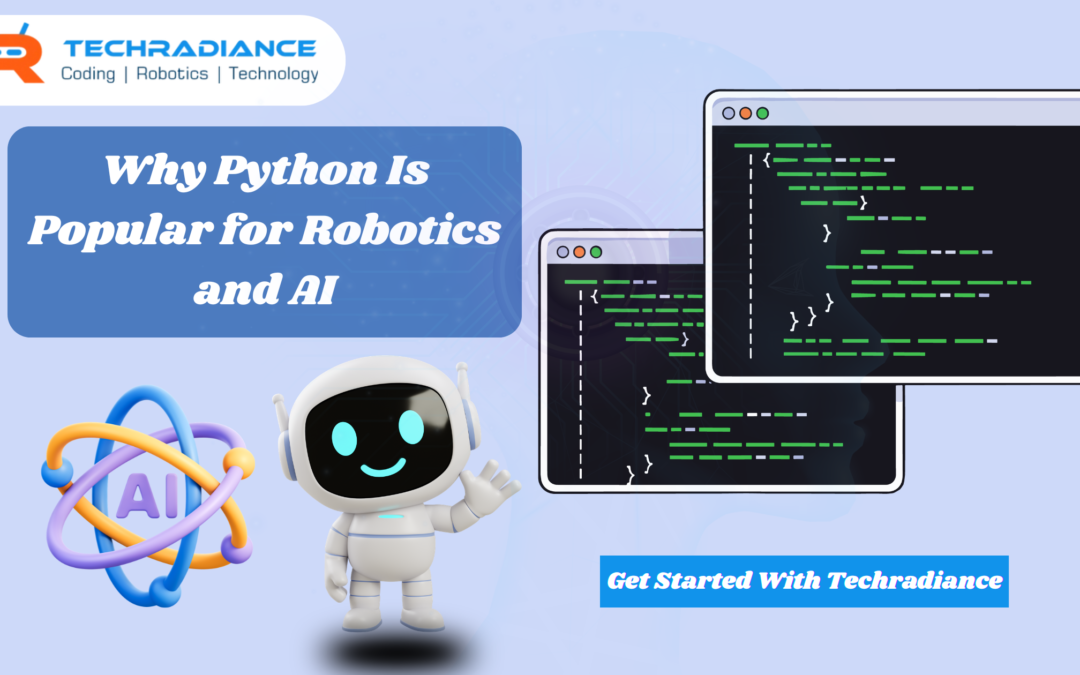
Python for AI is well-known due to the fact that it’s simple, powerful, yet easy to master. It aids developers in building artificial intelligence systems (AI), machine-learning robots and models in a short time. Python includes a variety of useful libraries, such as TensorFlow, PyTorch, and OpenCV, that help make AI as well as robotics creation speedier and simpler.
In this article, we will go over the reasons why Python is used in AI, how Python is used in robotics, how Python is utilised in robotics and also why a lot of experts think it’s the most efficient programming language for automation and AI creation.
Python is an advanced programming language that is simple to write, read, and comprehend. It was developed by Guido van Rossum and was first released in the year 1991.
The primary purpose of Python is to help make the process of programming easy for anyone. With its easy and easy-to-read syntax, even beginners can master it in a short time.
Python is utilised in a variety of fields, like:
Artificial Intelligence
Robotics
Machine Learning
Data Science
Web Development
Automation
Game Development
Presently, Python is one of the most frequently used AI programming languages around the globe.
Why Python is Used in AI
Many developers have asked, “Why is Python used in AI instead of other programming languages?”
The answer is straightforward. Python provides powerful tools that help build AI systems faster and easier.
Here are a few reasons as to why Python is a popular choice for artificial intelligence.
1. Simple and Easy to Learn
Python has a simple syntax. It is similar to regular English sentences.
For instance:
print(“Hello World”)
Due to this ease of use, Python is so simple that students and beginners can begin to learn Python programming for AI without being overwhelmed.
This is among the major reasons Python is extensively used for AI training and for research.
2. Powerful AI Libraries
Python comes with a variety of libraries that allow developers to build AI systems in a short time.
Some popular libraries include:
TensorFlow is used to perform deep learning and machine learning
PyTorch is used in AI research
Scikit-learn used for machine learning models
Keras – is a method used to build neural networks
OpenCV used to aid in computer vision
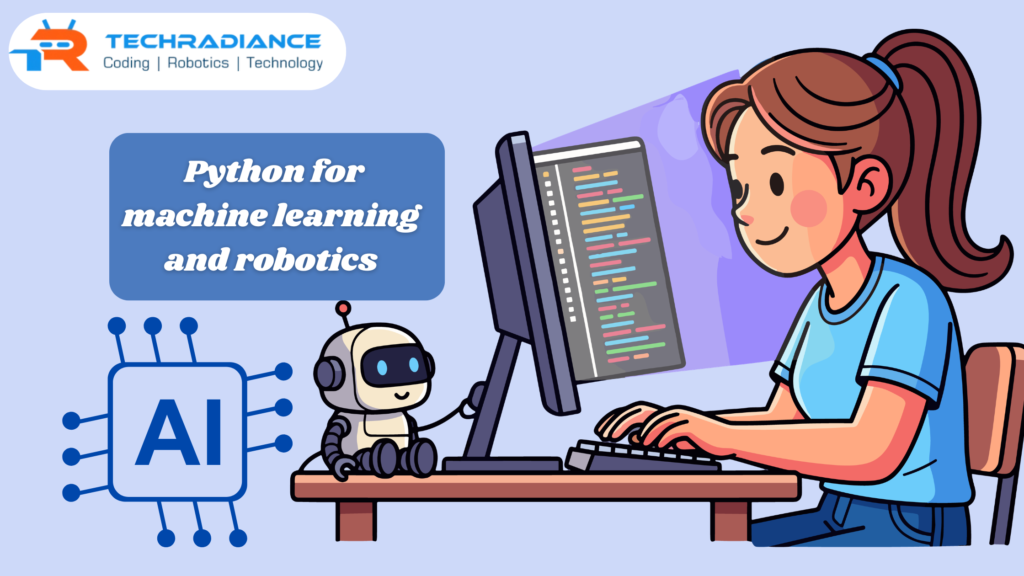
These tools help make Python for machine learning and robotics extremely effective.
Instead of starting from scratch, designers can utilise these libraries to speed up the process.
3. Large Developer Community
One motive for Python for AI that is well-known is the huge community it has created.
Millions of developers utilise Python across the globe. This signifies:
There are many tutorials available.
Problems are quickly solved
New tools are continually developed
If a person encounters issues when creating or implementing an AI initiative, they are able to quickly seek help on the internet.
4. Fast Development Process
Python allows developers to build as well as test AI models rapidly.
Contrary to some programming languages which need long codes, Python allows developers to write simple and clear programmes.
This allows us to explore new ideas and to improve AI systems more quickly.
How Python is Used in Robotics
Let’s now look at how Python is used in robotics.
Robotics is the area where robots are built to do tasks on their own. Robots utilize cameras, sensors, motors and software to communicate with the physical world.
Python is a key component in programming and controlling these robots.
1. Robot Control
Python is a programming language that can manage the movements of robots.
For instance, a robot can be programmed:
Go forward
Get rid of objects
Beware of obstructions
Take a route
Python programs transmit orders to the robot’s motors as well as sensors to execute these actions.
2. Computer Vision
A lot of robots make use of cameras to view their surroundings.
With the aid by With the help of Python, it can process videos and images. Robots can:
Detect objects
Recognize faces
Identify colours.
Track movements
Computer vision is a crucial aspect of robotics in the present.
3. Machine Learning for Robots
Robots are also able to learn from data through machine learning.
By using Python for machine learning and robotics, robots are able to improve their performance over time.
For instance, a robot could learn:
How can you improve your walking
How do you identify objects
How can you avoid obstacles
This makes robots more intelligent and more efficient.
Is Python Good for Robotics?
It’s true, Python is good for robotics, particularly for novices and researchers.
A variety of robotics platforms are compatible with Python since it’s a flexible platform and simple to use.
A few popular robotics platforms using Python include:
ROS (Robot Operating System)
Raspberry Pi robots
Arduino using Python
Drone programming systems
Python lets developers build and test robotics-related applications quickly.
However, in certain instances where speedy performance requirements are required, these languages, such as C++, could be employed alongside Python.
Benefits of Using Python for AI and Robotics
Utilising Python for AI as well as robotics provides numerous advantages.
Easy for Beginners
Beginners and students can easily grasp Python, as the syntax itself is easy to understand.
Python lets developers create AI model systems and robots more quickly than many other languages.
This allows researchers and companies to create innovative solutions quickly.
Strong AI Ecosystem
Python offers a comprehensive set of tools to:
Machine learning
Deep learning
Computer vision
Analysis of data
This makes it perfect as a tool for Python programming for AI development.
Integration with Other Technologies
Python is compatible with many other technologies, like:
IoT devices
Sensors for robotics
Cloud platforms
Systems for processing data
This flexibility is what makes Python extremely valuable in modern robotics systems.
Python Robotics Projects for Beginners
One of the best ways to master Python for robotics is to create small-scale projects.
Here are a few easy-to-learn Python robotics projects.
Line Following Robot
The robot tracks a black line on the ground by using sensors.
Python uses Python to regulate the robot’s movements based on the sensor information.
Obstacle Avoiding Robot
The robot is able to detect obstacles with ultrasonic sensors. It then alters its direction.
It’s a great beginning task to get a better understanding of robot navigation.
Face Detection Robot
By using Python and OpenCV A robot is able to recognise human faces using cameras.
This project will teach computer vision basics.
Voice Controlled Robot
This project focuses on how a robotic arm follows the voice of its user with the help of speech recognition libraries written in Python.
Python for Machine Learning and Robotics
Machine learning is among the most vital aspects of modern robotics.
By using Python for machine learning and robotics, robots can be taught patterns from data and take intelligent choices.
For Example:
A delivery robot can learn the best route to reach a desired location.
A manufacturing robot is able to detect products that are defective.
Self-driving cars recognize traffic signals as well as pedestrians.
Python makes it easy to design these systems.
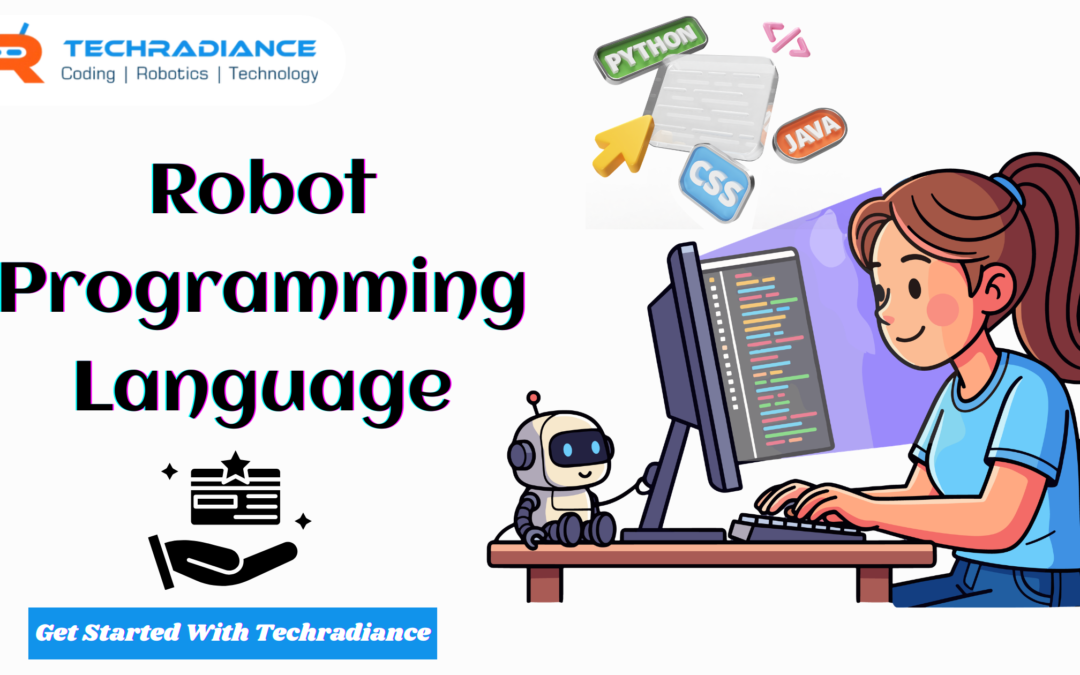
Best Programming Language for Robotics
Many developers are wondering: what is the best programming language for robotics?
There are a variety of languages used based on the specific project, but Python is usually considered to be to be one of the most effective alternatives.
Here’s the reason why Python is different:
Easy to master
Many robotics libraries
Machine learning and AI with strong help
Huge developer community
Due to these benefits, Python is widely used in robotics education, research labs and AI startups.
Future of Python in AI and Robotics
The future of Python for AI and robotics appears very bright.
As technology advances, Python will play a significant role in the development of:
Smart robots
Self-driving cars
Intelligent assistants
Healthcare robots
Smart manufacturing systems for smart manufacturing
Many companies and universities are providing instruction in Python as the primary AI programming language.
This implies that Python is set to continue influencing the future of intelligent machines.
What Students and Educators Say About Learning Python for AI and Robotics
A lot of teachers, students and robotics enthusiasts have begun using Python for AI and robotics projects because it’s simple and effective. Here are a few real-life experiences shared by students as well as educators.
“Before getting into Python, I believed that robots were a bit difficult. However, Python made it simple to comprehend the way robots work. I created the very first robotic obstacle avoider with Python as well as sensors. It was an incredible experience and I’m keen to know the basics of AI.”
Teacher Testimonial – Priya Mehta (STEM Educator)
“Python is among the top programming languages used to teach robots as well as artificial intelligence at schools. The syntax is simple, and students can begin developing real projects. It assists them in understanding programming and problem-solving. “
Robotics Trainer Testimonial – Rahul Verma
“When students begin learning Python to build AI or robotics, they will become more comfortable in programming. Python libraries such as OpenCV and TensorFlow permit them to construct intelligent systems faster as other programming languages. “
Parent Testimonial – Neha Kapoor
“My son began studying Python robotics in the high school. I was amazed by the speed with which he mastered the basics of programming. Python makes learning technology simple and enjoyable for kids. “
Engineering Student Testimonial – Aditya Singh
“During my robotics course at college, we made use of Python to learn machine learning and robotics-related applications. Python helped us develop an AI model quickly and then integrate it into the robotic system we had developed.”
Robotics Lab Instructor – Aman Gupta
“In the robotics laboratory, Python can be used in conjunction with other platforms such as Raspberry Pi and ROS. It is easy for students to program robot movements, camera images as well as AI features with Python. “
Final Thoughts:
Python is now among the top programming languages of the present. Its ease of use, robust libraries and a vast community make it an ideal choice for both students and developers.
If someone is looking to build intelligent machines to develop AI models or build robots, Python for AI and robotics offers the tools to begin.
Because it is simple to master and extremely efficient, Python is helping thousands of developers build the next generation of intelligent robots.
As robotics and artificial intelligence continue to expand, Python will remain one of the most used programming languages to build advanced and creative technology.
Frequently Asked Questions
Q. Can Python be used for AI development?
It is true that Python could be utilised to aid in AI development. It is among the most used programming languages used to build artificial intelligence systems. Developers make use of Python libraries such as TensorFlow, PyTorch, and Scikit-learn to build chatbots and models of machine learning, as well as smart applications.
Q. What makes Python a popular choice for AI development?
Python is well-known for AI development due to its simplicity to master, adaptability and inclusion of a variety of powerful libraries. These tools assist developers in creating and validating AI algorithms quickly. This helps save time and makes AI creation more effective.
Q. Is Python better than C++ for robotics?
Python is ideal for beginners in robotics due to its simplicity. It enables developers to build robotics projects quickly. But C++ is frequently preferred for advanced robots that need rapid speed and performance.
Q. Can Python be used to build AI robots?
It is true that Python is a programming language that can help create AI robots. Developers employ Python to integrate robotics, artificial intelligence, machine learning, and computer vision. This helps robots recognise objects, analyse data, and carry out intelligent tasks on their own.
Q. How long does it take to learn Python for AI and robotics?
Basic Python programming can be mastered in just only a couple of weeks. But learning Python to use in AI and robotics generally requires several months of training. Small projects are a great way to help students grasp AI robots and concepts more quickly.
Technology is rapidly growing. In 2026, robots will not just be used in large factories. They also serve in hospitals, schools, homes, and even on space missions. Have you ever wondered how robots know what to do?
The answer is easy. Robots can understand computer commands written in the Robot Programming Language.
If you’re looking to learn robotics and programming, your first task is to learn the languages used in controlling robotics. In this Techradiance blog, we discuss the top 7 robot programming languages expected to be used in 2026, using basic terminology.
The Robotic Programming Language is a computer language used to communicate instructions to robots.
Imagine it this way: if you would like your robot to move forward, grab an object, or stay away from the wall, you need to explain it step-by-step. The language you employ to describe these actions is referred to as the robot language.
According to experts in robotics, programmers are the mind of a robot. In the absence of programming, a robot becomes simply a machine without intelligence.
Why Is Robotics Programming Language Important?
1. It Helps Robots Think
Programming robots allows them to make decisions.
2. It Controls Movement
Robots employ codes for controlling their wheels, arms, or sensors.
3. It Makes Automation Possible
Factory factories use robotics programming language to make electronic devices and cars more quickly.
4. It Builds Future Careers
The process of learning the basics of Robotics and Programming creates jobs in AI as well as gaming, space science, and even automation.
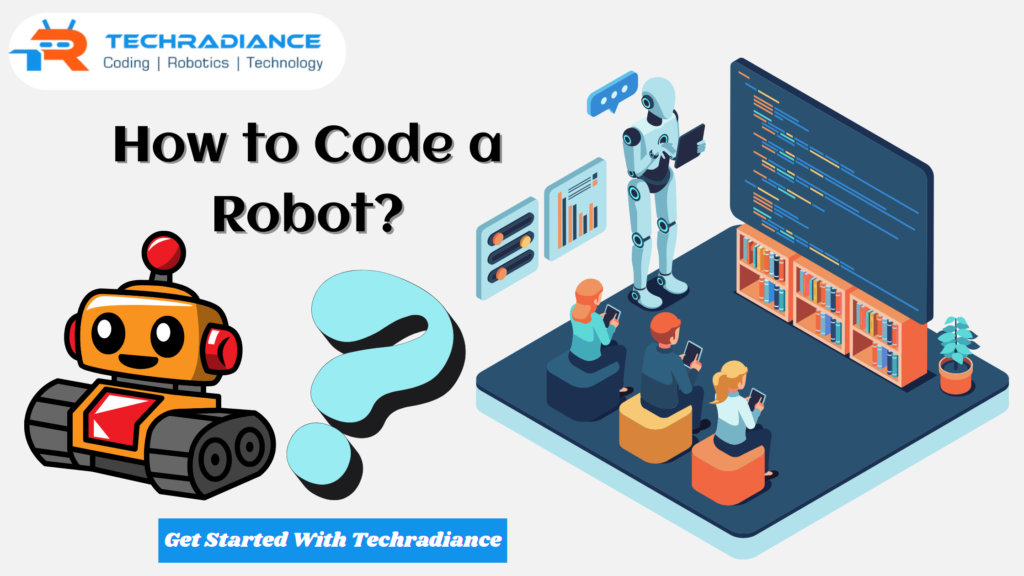
How to Code a Robot?
Many students want to know:
How to code a robot?
Pick one of the robot boards (like Arduino or Raspberry Pi).
Choose a robotic programming language.
Write down instructions.
The robot can download the codes.
Improve and test.
How to program a robot step by step?
You:
Write commands that look like “move forward.”
Add sensor instructions like “if obstacle, stop.”
Test the robot
Fix errors
Programming is similar to teaching a toddler step-by-step.
1. Python – The Most Popular Robot Programming Language
Python is among the most popular Robot Programming Language in 2026.
Why Python?
Easy to master
Simple syntax
Utilised in AI and machine learning.
Works with ROS (Robot Operating System)
Benefits:
Easy-to-learn Community support is extensive. In intelligent robots
Evidence:
The majority of AI robots of today utilise Python because it works in conjunction with artificial intelligence tools.
If you’re just beginning programming and robotics, Python is the best option.
2. C++ – Powerful and Fast Robot Language
C++ is another important Robotics Programming Language.
Why Use C++?
Very quick
Industrial robots are used in the production of
It is perfect. It is compatible with ROS
Benefits:
High-performance Real-time robotic control used in self-driving vehicles
C++ is great for advanced robot systems in which speed is important.
3. C – The Foundation of Robotics Programming
C is among the oldest programming languages that are used in robotics.
A lot of Arduino robots are programmed using C.
Why Is C Important?
Directly controls hardware
Utilized in embedded systems
Ideal for those who are just beginning to learn about microcontrollers.
If you are looking to understandhow to code a robotwith Arduino, C is very crucial.
4. Java – Flexible Robot Programming Language
Java is also utilised in robotics and automation systems.
Why Java?
Platform independent
Great for robots based on Android.
Management of memory with strong strength
Benefits:
Reliable Secure and Reliable Excellent for mobile robots
Java is often used to make robots connect to cloud systems.
5. ROS (Robot Operating System)
ROS isn’t a language; however, it plays a significant role in robots as well as programming.
It is compatible with Python and C++.
Why ROS?
In labs for research
It supports sensors and AI tools.
Global community with a large size
Evidence:
A lot of robotics research projects at universities use ROS to create sophisticated robots.
6. MATLAB – Used in Research and Education
MATLAB is utilised in robotics labs and at universities.
Why MATLAB?
Simple data analysis
It is used for simulation.
It is helpful for learning about robotics basics.
It aids students in understanding the movement of robots before they build the real robot.
7. Scratch – Best Robot Language for Kids
Scratch is a great game for beginners and students in school.
Why Scratch?
Drag and drop code
Visual blocks
Easy to comprehend
If you’re thinking about how to program a robot at a beginning level, Scratch is a fantastic start.
What Is the Best Robot Programming Language in 2026?
Python is the top robot programming language of 2026 due to its ease of use to learn, efficiency and wide use in AI robots.
But the Real Answer Depends On:
Your skill level
Your robot can type
Your project’s goal
For those who are just beginning with Python or Scratch For advanced learners – C++ or ROS
Benefits of Learning Robot Programming Language
Learning a Robotics Programming Language offers numerous benefits:
1. Improves Logical Thinking
Programming helps students solve problems.
2. High Career Demand
Robotics engineers will be highly sought-after in 2026.
3. Helps in AI Learning
Programming and robotics go hand in hand in conjunction with artificial intelligence.
4. Builds Creativity
You can build your own intelligent robot.
5. Future-Proof Skill
Robotics is among the industries that is growing the fastest around the globe.
How Techradiance Helps You Learn Robotics and Programming
At Techradiance, we provide:
AI and Robotics classes
Hands-on robot construction
Coding classes for novices
Practical projects
Industry-based training
We train students how to code a robot in fun and simple ways. We aim to make robotics accessible to all.
If you’re a school pupil or are just beginning to learn We will guide you step-by-step.
Testimonials
1. Aarav (Class 8 Student)
“Before joining Techradiance, I didn’t know how to program an automated robot. Now, I can build my own robot!”
2. Priya (Parent)
“Techradiance has made programming and robotics simple for my child. The way of teaching is simple and effective.”
3.Rohan (College Student)
“I have learned Python along with ROS in Techradiance. Today, I’m confident about creating AI-powered robots.”
Final Thoughts
They are the new technology of tomorrow. By 2026, learning the Robot Programming Language will not be only for engineers. Students from elementary schools can begin learning about robotics and programming.
Whichever you pick, Python, C++, or Scratch, the most important thing is to begin.
If you’re looking for expert guidance, Techradiance is here to guide you step-by-step.
The future is in the hands of those who can comprehend robots. It all starts by understanding how to program the robot.
Frequently Asked Questions
1️⃣ What programming language is used for robots?
The most popular robot programming language by 2026 will be Python. Robots can also utilize C, C++ and Java according to the specific project. Python is a popular choice because it’s easy to master and can be used when used in conjunction with AI as well as robotics.
2️⃣ Is C or C++ used in robotics?
C, as well as C++, can indeed be extensively used to control robotics. C is a great tool to control hardware such as motors and sensors. C++ is used in advanced robotics systems since it is extremely fast and efficient. Many industrial robots, as well as ROS systems, utilise C++.
3️⃣ What language is most AI coded in?
The majority of AI programmes are developed using Python. It is the most used AI language because it is a powerful language with AI libraries such as TensorFlow and PyTorch. Python is easy, versatile, and ideal for programming robotics.
4️⃣ Which robot programming language is best for beginners?
Python can be described as the ideal robot programming language for novices. It is easy to learn, easy to type, and is widely employed in robotics as well as AI. Beginning students can also begin by using Scratch before moving onto Python.
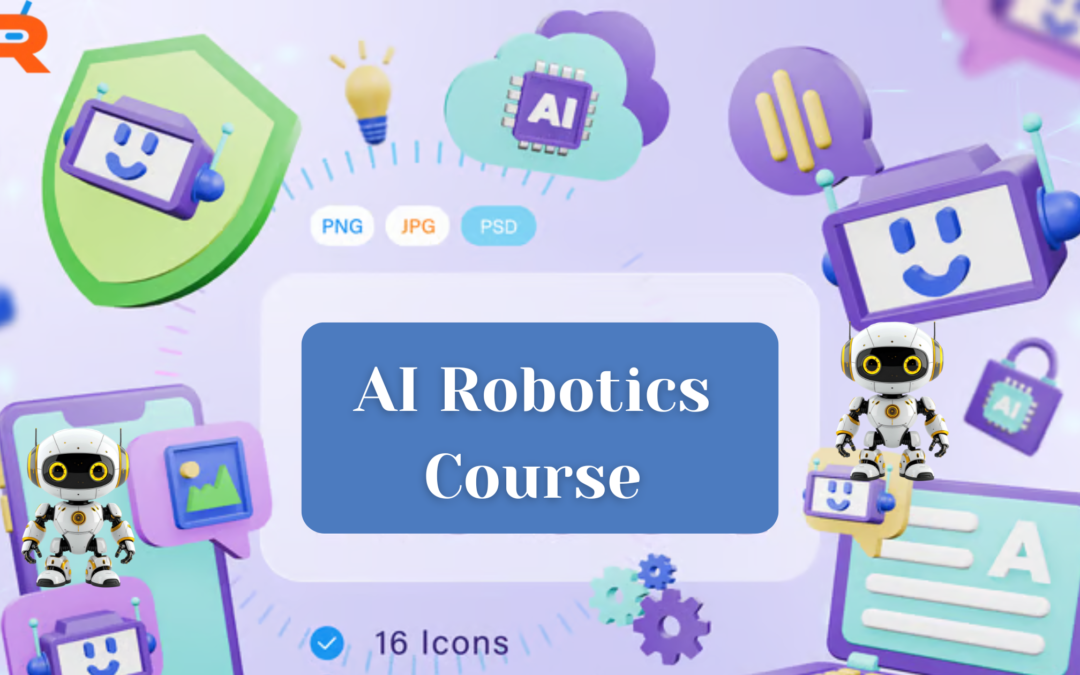
Technology is evolving rapidly. Nowadays, kids aren’t only using technology; they are also learning to create it. An AI Robotics course will help students understand how robots work, think and solve problems with Artificial Intelligence (AI).
If you’re either a parent or a student who is asking, “Is this course really beneficial?” — The answer is yes. This course helps students develop essential skills such as problem-solving, creativity, creative thinking, and intelligent thinking. In Techradiance, they learn about AI as well as robotics straightforwardly and enjoyably. In this blog, we’ll discuss the reasons why this course is useful, what students will learn about it, and how it will assist them in the future in simple terms.
An AI Robotics Class is a course where students learn to construct and control robots with artificial intelligence (AI).
In simple terms, students are taught how robots think, move and solve issues. They are able to understand how robots obey instructions, identify objects, and make smart choices.
In this course, students will generally learn:
How do you build robots that are simple to build?
Basic programming and coding
AI can help robots think
Sensors help robots to see and feel
It’s not only about robots. It also helps students learn to think critically and to solve real-world issues.
If you’re thinking, “Is it hard?” The answer is no, it’s created in a simple and fun manner so that students can learn while creating cool projects.
The AI Robotics Course helps children prepare for their future careers since AI, as well as robots, is becoming more important in various industries such as automobiles, healthcare, and smart homes.
Why Should School Students Learn AI and Robotics?
You might think: Why should children begin to understand robots at a very young age?
The future is in AI as well as automation.
In the present, AI is used in
Smartphones
Autonomous cars
Hospitals
Banks
Online shopping
Space missions
Even big companies such as Google, Tesla, and NASA make use of robots and AI.
If students are taught in the early years:
They have a better understanding of technology
They are creators, not users.
They increase confidence
The brain is sharper and more creative.
What Do Students Learn in AI and Robotics Courses?
In Ai and robotics courses students are taught:
1. Basic Coding
They learn programming basics like:
Block Coding
Scratch code
Python fundamentals
2. Robot Building
Students design robots using:
Sensors
Motors
Microcontrollers
3. Artificial Intelligence Basics
They know:
Machine learning
Computer vision
Voice recognition
4. Problem Solving
Students create robots which:
Beware of the obstacles
Follow the lines
Pick objects
Find the colours.
The entire process is described in easy steps that even children are able to comprehend.
How Does an AI Robotics Course Work?
Let’s look at the mechanism simply.
1. First, they learn the basics of programming. 2. Then they connect their hardware, such as motors and sensors. 3. After that, they write basic programming. 4 Finally, they evaluate and refine their robot.
This method of learning is referred to as: Learn – Build – Test – Improve
Techradiance instructors guide students individually so that they do not get lost.
Benefits of AI Robotics Course for School Students
Let’s look at the most important aspect -the the benefits.
1. Improves Logical Thinking
Students learn learn step by step.
2. Boosts Creativity
They design their own designs for robots.
3. Increases Confidence
When a robotic device is in operation and students feel happy, they are proud.
4. Develops Problem-Solving Skills
If the robot ceases to function Students can fix the problem.
5. Builds Teamwork Skills
Students form groups and exchange ideas.
6. Prepares for Future Careers
Robotics and AI are highly sought-after capabilities.
Research indicates research shows that AI jobs are growing every year across the globe. Countries such as India, USA, and Japan are investing massively in robotics education.
The benefit isn’t just education, but is also a way to prepare for your career.
Key Components of Robotics and Artificial Intelligence Courses
Good Robotics And Artificial Intelligence Courses comprise these important elements:
AI fundamentals
Robotics hardware
Programming skills
Real-world projects
Training in safety
Innovation is a challenge
At Techradiance, the course is geared towards schoolchildren and not for college-bound students. This is why everything is explained in an easy-to-understand language.
What is the Future Scope of AI Robotics Course?
This is probably the most common parent question:
“Is there a future for AI as well as robots?”
Yes, there is a huge future.
Based on global industry reports:
The AI market is expanding extremely quickly.
Robotics is employed in factories.
Hospitals utilise robotic surgery
Schools utilise AI tools
Space research employs robotics
Career options for the future include:
Robotics Engineer
AI Developer
Machine Learning Expert
Automation Engineer
Data Scientist
Government projects, even in India, are encouraging AI learning in the schools.
This is the reason Ai And Robotics Courses in India are getting more and more sought-after each year.
How AI and Robotics Courses in India Are Growing
India is focusing heavily on the education of technology.
Numerous schools are:
Set up AI labs
Beginning robotics clubs
Participating in robotics-related competitions
The Government of India is also encouraging digital learning and innovation.
Companies such as Techradiance provide simple and structured programmes for students in schools so that they can begin their studies early.
What Are Robotics Programming Courses?
The courses concentrate on:
Writing code for robots
Making robots move
Making robots autonomous
Students are taught:
In the event of a change
Loops
Sensor integration
AI-based decision-making
In simple words, robotics programming means: “Teaching robots how to behave.”
If robots aren’t programmed, they can’t perform their tasks.
How is AI Robotics Course Different from Normal Coding Classes?
This is a crucial question.
Normal Coding Class:
Teach computer programming solely
AI Robotics Course:
Teaches Coding
Teaches hardware
Teaches AI
Learns about real-life applications
It is therefore more practical and thrilling.
Students don’t only see the results on a screen; they can actually see the robot in the real world.
Why Choose Techradiance for AI Robotics Course?
At Techradiance, students get:
Simple and easy-to-understand classes, Practical robot building, Professionally trained trainers, Project-based learning challenges, Career direction
The goal isn’t just marks but rather skills.
Students are enthused by learning, as classes are interactive and interactive.
Evidence: Why AI Learning is Important
Let’s take a look at some real-world examples.
AI-powered cars that self-drive use AI.
Robots are employed in surgeries
AI chatbots aid customers
Drones use robotics technology
Countries who put money into AI education are more advanced in terms of technology.
This is proof that learning AI and robotics in the early stages is intelligent.
🌟 Testimonials – What Students & Parents Say About Techradiance
Aarav Sharma (Class 6 Student)
“Before enrolling in Techradiance’s AI Robotics Course at Techradiance, I was playing video games using my PC. Now, I am able to create a robot that follows the line! The classes are simple and enjoyable. I am a huge fan of creating robots. “
Riya Mehta (Parent)
“My daughter took part in Techradiance’s AI and robotics programmes at Techradiance this year. I’m seeing a huge improvement in her ability to think and her confidence. She is now able to explain AI concepts using very easy language. I highly recommend this course to schoolchildren.”
Kabir Verma (Class 8 Student)
“The robotics programming classes helped me learn coding in a way that was practical. When my robot began to move, at first I was extremely proud. The trainers guide you step-by-step. “
Neha Gupta (Parent)
“We searched for the best robotics and AI courses that are located in India in order to teach our son. Techradiance is a hands-on learning programme that includes actual projects. It’s not just boring theory. Children actually construct as well as test robotics.”
School Coordinator – Delhi NCR
“Techradiance has successfully implemented robotics and artificial intelligence classes at our school lab. Students are extremely involved and are actively taking part in the challenges of innovation.”
Final Thoughts: Is the AI Robotics Course Worth It?
Yes, 100%.
An AI Robotics Course helps students:
Think more strategically
Technology for building
Make plans for the future
Increase confidence
Instead of playing games, kids can now learn to design and build smart machines.
If you’d like your child to become prepared to face the future of robotics and automation as well as artificial intelligence, enrolling in a programme that is structured like Techradiance could be a fantastic move.
The future isn’t going to be here anytime soon. It’s already in the present. And today’s students could be tomorrow’s innovators.
Frequently Asked Questions:
1️⃣ What is AI Robotics Course?
The AI Robotics Course helps students create and program intelligent robotics with artificial intelligence. It covers sensors, coding and machine learning fundamentals as well as hands-on robot projects in a practical and easy manner.
2️⃣ What is the salary of AI Robotics?
The amount of money you earn for AI robotics depends on your skills and the amount of experience. In India, it is possible for beginners to earn between 4 and 8 lakhs a year, and professionals with years of experience earn up to Rs 10-25 lakhs annually. Pay rates are higher for professionals who specialise in AI as well as automation.
3️⃣ Where can I learn AI Robotics?
Learn about AI Robotics by utilising recognised training institutes, school courses, online platforms or specialist technology institutes like Techradiance, which provide well-structured and beginner-friendly classes.
4️⃣ What are the AI Robotics Course fees?
AI Robotics Course fees depend on the level of the course, duration, length, and the institute. In India, the fees typically vary from Rs15,000 to Rs100,000 for courses that offer certification. The cost of advanced courses could be higher.
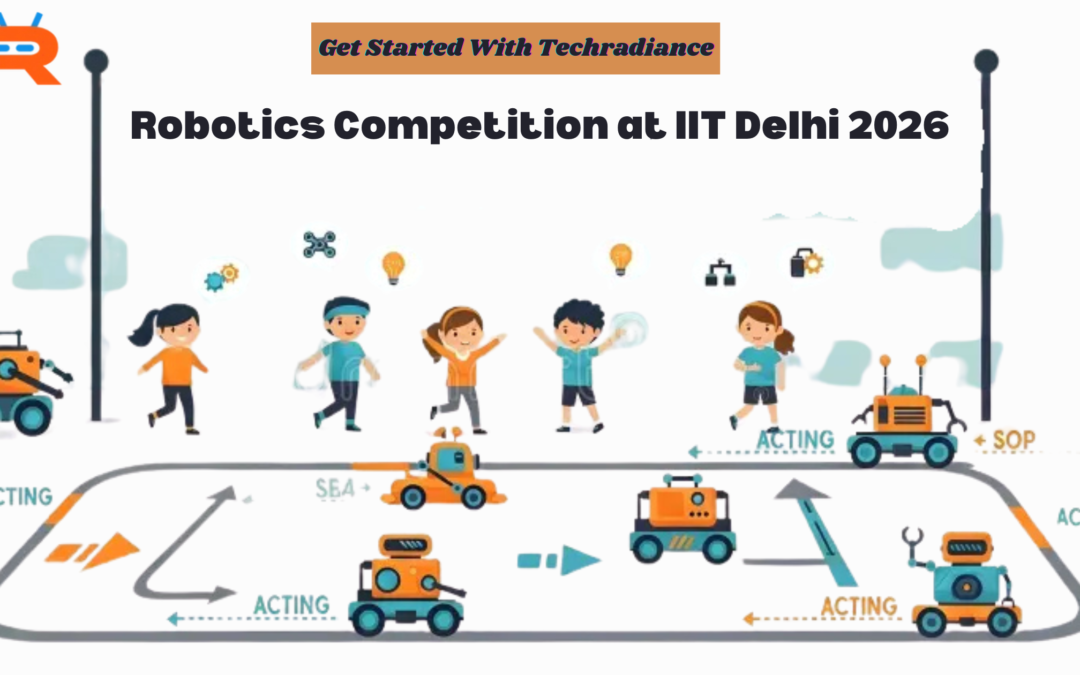
It is expected that the National Robotics Competition at IIT Delhi 2026 will take place between the 4th and 5th of April 2026. The final date for registration is March 10, 2026.
To be able to win a robotics contest, students must
Learn the rules thoroughly
Make a stable and strong robot
Code and test your skills
As a team, work together
Resolve problems with calm
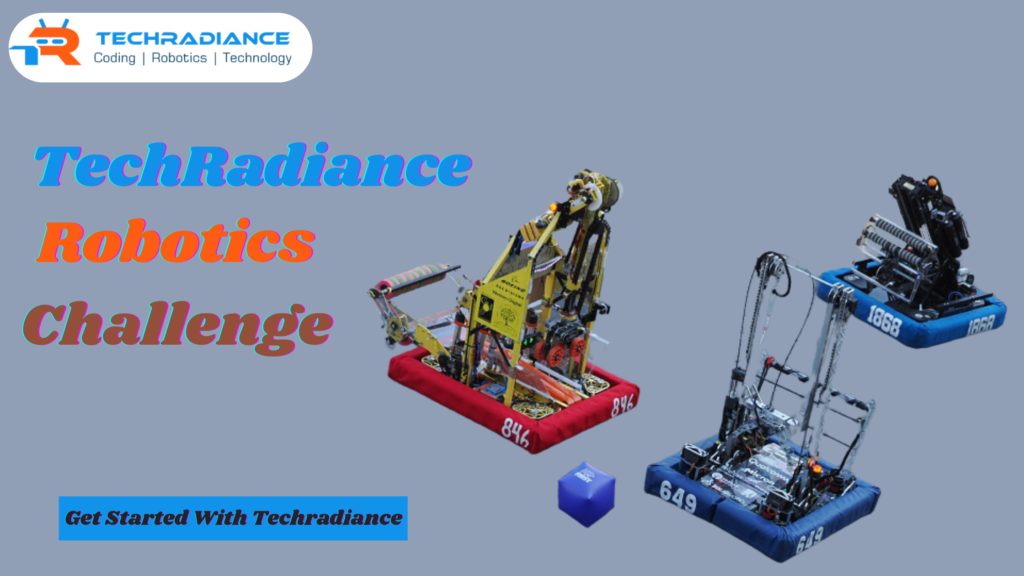
The events could include a Robo Race competition or task-based challenges and a round of robotics challenges. Participation in these events helps students develop technical abilities, teamwork skills, confidence, and job opportunities in engineering and robotics.
The competition is organized in collaboration with TechRadiance. The competition is an ideal platform for budding entrepreneurs.
A National Robotics Competition at IIT Delhi 2026 presents a significant chance.
Event Dates: 4th-5th April 2026 Last Date to Register: 10 March 2026
Don’t wait to find your perfect opportunity.
Start building. Start practicing. Start dreaming.
Your robot could become the next winner at IIT Delhi.
Remember that every great innovator started as a child.
FAQ’s
1️⃣ What is a robotics competition?
Ans: A robotics contest is an event in which students create and program robots in order to accomplish tasks such as racing, picking objects, or tackling challenges. Teams compete for the most points or complete tasks at the fastest speed.
2️⃣ How can I register for the Robotics Competition at IIT Delhi 2026?
Ans: The registration process is as simple as filling in the official registration form by the 10th of March, 2026. Check that your team’s details and robot’s category are completed correctly by the deadline.
3️⃣ Who can participate in the National Robotics Competition?
Ans: Students in college and school with an interest in robotics, coding, or engineering are able to take part. Certain categories might be restricted by age or class, so make sure to check the guidelines of the organization.
4️⃣ Why should students join a robotics competition?
Ans: Students are encouraged to participate in an event in robotics to develop teamwork skills, problem-solving abilities, coding skills, and confidence. It can also help in establishing a successful future career in engineering and technology.
5️⃣ What types of events are included in the robotics competition?
Ans: The event could include things such as the robot race, a task-based robotics challenge, and other technical competitions in the spirit of this original robotics contest format.
6️⃣ How do I prepare to win a robotics competition?
Ans: To be a winner in a robotics contest You must know the rules in detail, create an efficient robot, learn programming every day to test your robot numerous times, and collaborate together with the team.
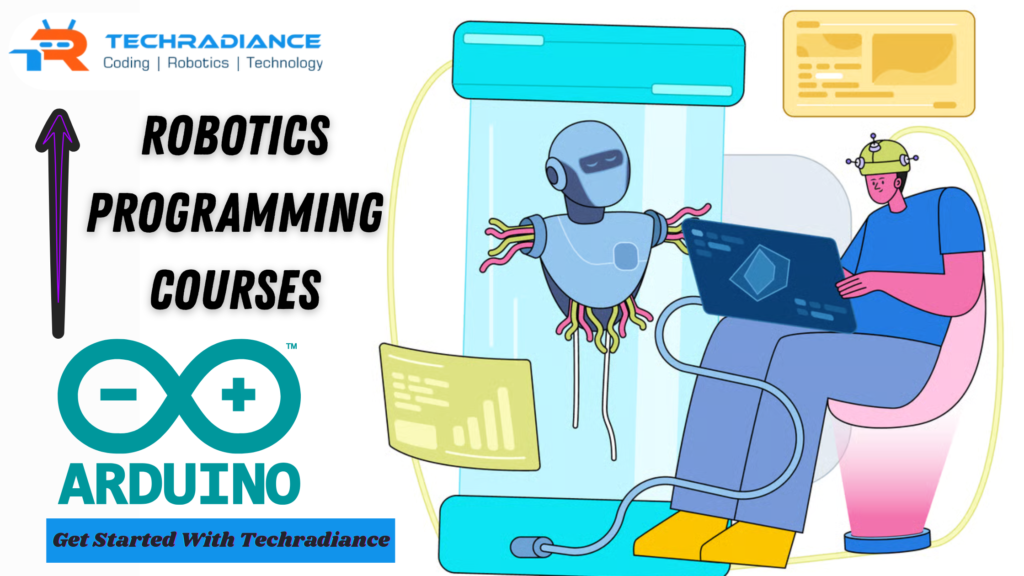
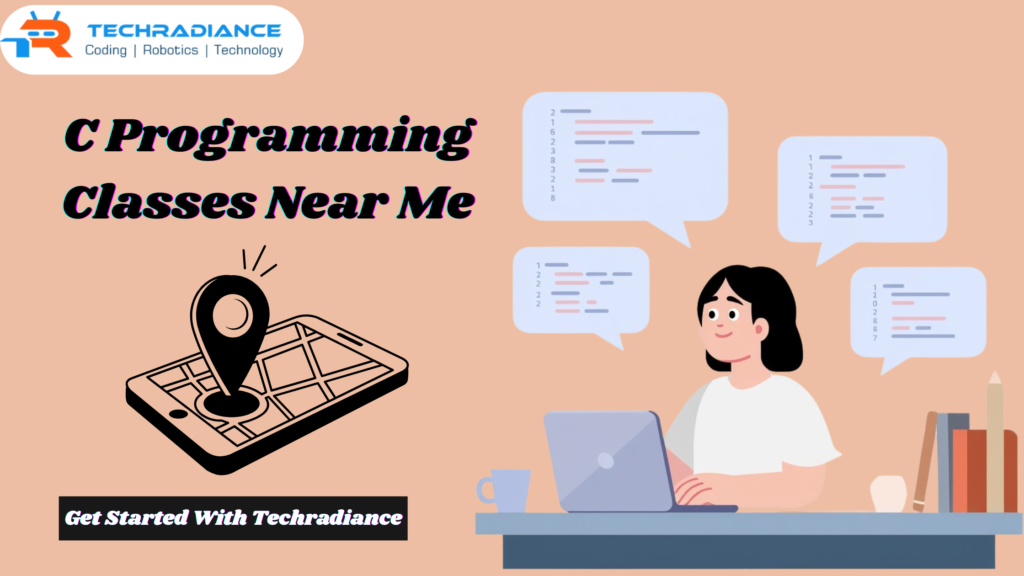
Robots aren’t just for films these days. Nowadays, we can find robots in schools and factories as well as in hospitals at home. If you’re planning to create robots, control machines, or create smart devices, then learning to code is crucial. One way to begin is by enrolling in C Programming Online Classes. The classes teach students the way robots and computers follow simple directions. At Techradiance, the students are taught C programming in a simple and enjoyable manner. They also learn to control robots with Arduino step-by-step. On this blog, you will be able to understand the basics of what C programming means, the reasons it is essential for robotics, and how to begin learning it quickly.
C Programming Classes Online are easy courses that can be learnt via the internet at home. Students learn to use the C programming language without having to go to a classroom.
You’ll need only a laptop or computer and an internet connection to begin learning. A majority of classes are video-based and are easy to understand, with simple explanations, exercises for practice, and helpful notes. This helps make learning C programming easy, enjoyable and ideal for those who are just beginning.
What Is Robotics, and Why Is C Important?
The field of robotics can be described as the art of creating robots. Robots are intelligent machines that move, detect objects around them, and perform tasks following directions.
But how do robots know what to do?
We give them instructions via programmes.
The most popular programming language among robotics engineers is C. It lets us instruct the robot to stop, move, change direction or grab something.
For example, Arduino is the most well-known robotics board. It makes use of C programming to regulate robots as well as machines. If you’re looking to construct robots and have them function effectively, mastering C is crucial.
In simple terms Robotics is all about creating robots. C helps us “talk” to these robots and manage them easily.
Why Choose C Programming Classes Online for Robotics?
There are many reasons why students would rather learn online
1. Learn from any location
You can learn from the comfort of your home, without having to travel.
2. Flexible Timing
Students may choose to attend the morning or evening batch.
3. Practical Learning
You can learn through real-world projects, such as:
LED blinking
Motor control
Obstacle-avoiding robot
Line follower robot
4. For beginners, we are a great resource.
Even if you’ve not coded before, you can begin quickly.
The classes at Techradiance are designed to be simple enough that even students in 5th grade can grasp the basics.
What Is a C Programming Online Course?
A C programming online course is a planned course where students are taught C step-by-step.
It typically includes:
Introduction to programming
Variables and types of data
In the event of a change
Loops
Functions
Arrays
Working with Arduino
The course is planned in an easy-to-understand manner to make sure students don’t feel lost.
What Is a C Language Online Course and How Is It Different?
A C language online course is focused on learning the C language fully.
It is a way of teaching:
Syntax of C
Writing logic-based programs
Understanding memory
Utilizing loops and conditions
Step-by-step solutions to problems
If this course is paired with robotics classes, participants are able to directly apply their skills to control equipment such as motors and sensors.
How to Learn C Programming Online Easily?
Many students wonder: How can I learn C programming online without becoming lost?
Here’s a straightforward technique:
Step 1: Begin by learning the basics
Find out what a variable is. What is a loop, and what is an operation?
Step 2: Perform small Programmes
Write simple programs like:
Add two numbers
Print your name
Verify if the number is odd or even
Step 3: Connect to Arduino
After learning the basics, start connecting:
LED
Buzzer
Sensors
Step 4: Design and build small robotics projects.
Practice makes you confident.
If you practise this method often, you’ll be able to grasp how to code easily.
C Programming Language for Beginners – Is It Hard?
A lot of students believe that programming is difficult. However, it isn’t C Programming Language For Beginners is very easy to learn, provided it is taught using a proper method.
C means:
Easy to comprehend
Structured
Logical
Superb
When teachers explain concepts through actual examples, students can gain knowledge faster.
For instance:
Loops are like doing homework each day.
If-else statements are like making a choice: “If it rains, use an umbrella. Else, don’t.”
It makes learning enjoyable and simple.
C Programming Classes Near Me vs Online Classes
Students may search for C programming classes near me because they believe that offline classes are more beneficial.
Let’s compare:
Offline Classes Offline
Online Courses
Travelling is a must
Learn at home
Fixed timings
Flexible timings
Teachers with limited experience
Access to professional trainers
Recorded material is not as extensive.
Sessions recorded are available for download.
Online learning offers greater flexibility and comfort, particularly for students in schools.
What Is Arduino and How Does It Work with C?
Arduino is a tiny electronic board that allows you to build robotics-related projects.
It’s as simple as this:
It is written in C code.
Transfer it onto Arduino.
Arduino regulates motors and sensors.
The robot does the work.
For instance:
If a sensor spots an obstruction, the robot will turn.
If the light is not sufficient the LED will turn on.
This is the way C programming can control devices in real life.
Key Components of C Programming for Robotics
To create robotics-related projects using C You must be aware of these essential components:
1. Variables
Values are stored in the form of numerals and even letters.
2. Loops
Repeat the actions numerous times.
3. Conditions
Make decisions.
4. Functions
Break large tasks down into smaller pieces.
5. Input and Output
Access data from sensors as well as control motors.
Once students are able to master these elements, the robotics process becomes simple.
Benefits of Learning C Programming for Robotics
C programming is a great way to learn. C programming can bring numerous benefits:
Enhances Logical Thinking
Students learn to tackle problems step-by-step.
Improves confidence
Making a robot that works will make students happy.
C is the foundation for a variety of advanced languages, including C++, as well as embedded systems.
Career Opportunities
Engineers in robotics and embedded engineers, as well as IoT developers, must have C know-how.
The beginning of Tech Exposure
Students in schools are Builds Strong Foundation
exposed to the real world of technology at an early age.
Why Choose Techradiance for C Programming Classes Online?
Techradiance can provide:
Simple and simple teaching method
Live demonstrations in real time
Robotics hands-on projects
Personal doubts and support
Learning through projects
Certification after completion
The emphasis is not just on theory but also actual robotics applications.
Students are taught by creating real-world projects, not just taking notes.
Who Can Join These Classes?
Anyone can join:
Students from the school
Beginnings
Robotics enthusiasts
Engineering students
Teachers
Learners who are interested in the hobby
No prior knowledge of coding is necessary.
What Projects Will Students Build?
A basic comprehension of C can be acquired in between 4 and 6 weeks.
To feel confident in robotics projects, students could require two to three months of practice.
Regularly practising is crucial.
How Long Does It Take to Learn?
A basic knowledge of C can be acquired within 4 to 6 weeks.
To feel confident in robotics-related projects, students might require between 2 and 3 months of training.
Regularly practising is crucial.
How to Get Started Today?
If you are looking to begin your journey:
Choose a reliable institution such as Techradiance.
Join C Programming Classes Online.
Take classes regularly.
Practise daily.
Create small robotics projects.
As you go through the steps of the process, you’ll become proficient in robotics and coding.
Testimonials – What Students Say About Techradiance
In Techradiance Students not only learn to code, but they also build confidence by creating real robotics projects. Here’s what our parents and students have to say about the classes we offer. C Programming classes online:
Aarav Sharma, Class 6 Student
“I have always thought that programming was a difficult task. However, once I started Techradiance’s classes Techradiance I was able to understand everything with ease. The instructor explained the C programming language to novices in a simple manner. I built my very first robot that could avoid obstacles in my own home!”
Riya Verma – Class 8 Student
“I searched to find C programming classes in my area; however, online classes offered by Techradiance were superior. I am able to attend at home and also watch the recordings of the sessions. Now I can code in C and manage Arduino sensors without fear.”
Aditya Singh Aditya Singh Robotics Enthusiast
“The C programming online course helped me to understand loops and how conditions work on real robots. Before this, I was a student of theory. Now, I build real robots with Arduino. The training in the hands-on is incredible.”
Parent Feedback – Mrs Mehta
“My son has enrolled in the C online language course at Techradiance, and I am thrilled with the progress he has made. The teachers explain the course step-by-step in simple language. The student’s logical thinking has been improved significantly, and he’s more comfortable with technology.”
Final Thoughts:
Learning C programming is the initial step to creating robots and smart machines. With the right instruction and projects, even young people can learn to code effortlessly.
When they join C Programming Classes Online at Techradiance, learners not only learn the basics but also create real robotics projects with Arduino.
If you’re interested in becoming proficient in technology and robotics, begin studying C today. The future is in the hands of builders, creators and innovators. Your adventure can begin today.
Frequently Asked Questions (FAQ’S)
Q. Which is the best C Programming Course?
The most beneficial C programming course provides basic concepts that include coding exercises in a practical manner and real-world projects, such as Arduino-based robotics. An online course with live support, step-by-step guidance and hands-on exercises is perfect for beginners as well as school students.
Q. Can I learn C in 3 months?
You can master C in just 3 months if you practise frequently. In the beginning, you will be able to master the fundamental concepts such as loops and variables. The second month is when you’ll be able to learn to write programs. Third month: You will be able to make small projects, such as robotics, by using Arduino.
Q. Is C harder than C++?
Yes, C is not harder than C+. Actually, C is simpler because it is less complex. A lot of students study C first, as it helps to understand the fundamentals of programming before moving on into C++.
Q. Is C programming good for robotics?
Absolutely, C programming is very suitable for robotics. Arduino and a variety of embedded systems rely on C-based coding. Learning C lets you control motors, sensors, and robotic devices with ease.
Q. Is C programming useful for school students?
Absolutely, C programming can be very beneficial to schoolchildren. It helps improve logical thinking ability, problem-solving abilities, and a sense of confidence in the field of technology. It also creates a strong foundation for further research on robotics and AI, as well as engineering.
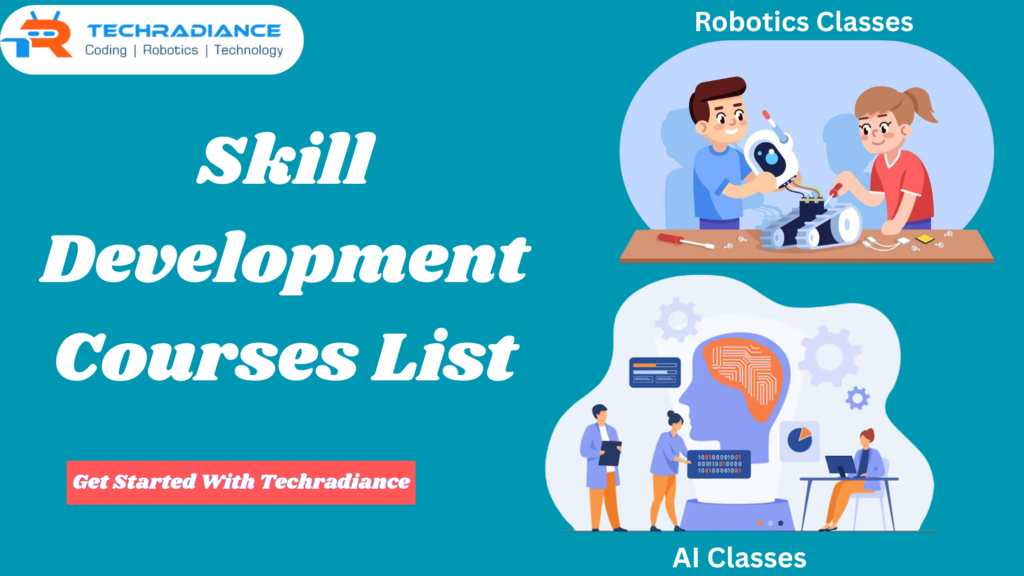
Students in 2026 require more than just schoolbooks to be successful. Alongside studying, practical skills are essential. This is why a lot of students and parents search for Skill Development Courses Near Me.
Courses in skill development allow students to learn advanced skills such as robotics, coding, artificial intelligence (AI), and machine learning. These abilities increase confidence, thinking ability, and job opportunities.
Techradiance, we are focused on helping students master skills in the easiest, most enjoyable, and most practical manner to ensure that even the youngest learners can comprehend the concepts easily.
Skills development courses are courses that train students to master practical skills. Skills taught can help students think more effectively about problems, solve them, and help them prepare for their future careers.
In contrast to traditional classroom instruction, the courses concentrate on:
Learning through doing
Practical activities
Innovative thinking
Education based on technology
All students are able to enrol in courses that focus on skills to develop their skills beyond the textbooks.
Why Are Skill Development Courses Important for Students in 2026?
The world is evolving rapidly. Technology is constantly evolving every year. A lot of the jobs that are to come in the future do not exist yet. This is why learning to be skilled is crucial.
Here’s why students should enrol in the Best Skill Development Courses by 2026
Students learn about the latest technologies.
Increases confidence at an early age
Enhances problem-solving abilities
Helps students become more intelligent and imaginative.
Preparing students for careers with high pay
A well-equipped Skill Development Training Centre can help students keep up in both their studies and daily life.
How to Choose the Best Skill Development Courses Near Me?
In the search for Skill Development Courses Near Me Parents and students need to be looking for these things:
1. Practical Learning
Select a course in which students learn through doing and not just by listening.
2. Simple Method of Teaching
The courses should be taught in a simple language so that students are able to understand the concepts clearly.
3. Expert Trainers
Trainers should be warm well-trained and knowledgeable in working with students.
4. Modern Technology
The centre must use the most current equipment, labs and learning techniques.
5. Trusted Skill Development Centre Near Me
A well-known skill development centre near me, like Techradiance, ensures quality learning.
Best Skill Development Courses for Students in 2026
Below is a Skill Development Courses List which is ideal for students entering 2026. The programmes are meant to be enjoyable and make you future-ready.
Robotics Course for students
Robotics is among the most thrilling Skill Based Courses to students.
How Is Robotics?
Robotics is the process of designing robotic machines and programming them to complete tasks.
What students learn:
How do robots function
Simple robots
Utilising motors and sensors
Logical thinking
The benefits of robotics:
Enhances creativity
Science makes learning fun
Helps develop problem-solving skills
Preparing students for the future of technological advances.
Robotics is among the Best Skill Development Courses for students in school.
Coding Course for Students
Coding is a way for students to learn how to communicate with computers.
What is Coding?
Coding is the process of writing down simple instructions so computers can function.
What students learn:
Basic programming logic
Simple programming languages
App and game creation
Step-by-step planning
The benefits of Coding
Increases the logical ability of your brain
Aids with the areas of science and maths.
Increases confidence
Develops a strong foundation for career development
Coding is an essential expertise in modern Skill Development Courses.
Artificial Intelligence (AI) Course for Students
Coding is a way for students to learn how to communicate with computers.
What is Coding?
Coding is the process of writing down simple instructions so computers can function.
What students learn:
Basic programming logic
Simple programming languages
App and game creation
Step-by-step planning
The benefits of Coding
Increases the logical ability of your brain
Aids with the areas of science and maths.
Increases confidence
Develops a strong foundation for career development
Coding is an essential expertise in modern Skill Based Courses .
Machine Learning Course for Students
Machine learning is one of the components of AI that teaches machines from data.
What is Machine Learning?
It assists computers to learn by experience, similar to humans.
What students learn:
Basic machine learning concepts
Data understanding
Simple models
Use cases from real life
Advantages of Machine Learning
Develops analytical abilities
Improves decision-making
Students are prepared for further studies.
Future career growth potential is high
Machine learning is included in the advanced skill development courses list.
Benefits of Joining a Skill Development Training Centre
A membership in a reputable Skill Development Training Centre has many benefits:
A structured learning path
Expert advice
Practical hands-on training
Certification
Career readiness
A reliable centre will ensure students’ education in a safe and comfortable environment.
Why Choose Techradiance for Skill Development Courses?
Techradiance is a name that I trust when students are looking for a Skill Development Centre Near Me.
What makes Techradiance particular?
A student-friendly approach to teaching
Easy language for better understanding
Modern labs and modern tools
Learning through practical experience
Courses designed for future skills
Techradiance is focused on having fun while learning, which makes it ideal for students in the early years.
How Skill Development Courses Help in Career Growth
Learning skills helps students develop incrementally.
A strong foundation is built early.
Helps to choose the right job for you.
Enhances academic performance
Students are confident and self-sufficient.
If they take the appropriate Skill Development Courses, students will be able to achieve greater success in a shorter time.
Skill Development Courses for Different Age Groups
The ability to learn is not restricted by the age of learners.
Elementary students: Basic robotics and Coding
Intermediate school pupils, AI and logic-based learning
Secondary school pupils – Advanced Coding and machine learning
Techradiance provides flexible programmes for all levels of learners.
Future Scope of Skill Development Courses in India
India is growing rapidly in terms of technology and innovation.
Future tech jobs could be a lot more
Demand for skilled professionals is high.
The government’s focus is on the development of skills
Opportunities for global career advancement
This is what makes Skill Development Courses Near Me more essential than ever before.
⭐ Testimonials – What Students & Parents Say About Techradiance
Testimonial 1 – Parent
“Techradiance has helped me simply comprehend Robotics. Teachers explain everything in a clear manner. This is the best facility for skill development close to me for students.”
Testimonial 2 – Student
“I learnt about coding as well as AI through Techradiance. The classes were enjoyable and easy to grasp. This is among the most effective skill development classes in my area.”
Testimonial 3 – Parent
“My son was enrolled in the robotics and machine-learning course. His thinking and confidence were greatly improved. Techradiance offers outstanding training for skills.”
Testimonial 4 – Student
“I loved learning at Techradiance. The practical learning process made it easy. It’s a great facility for training and development of skills that students can use.”
Final Thoughts
In 2026, acquiring skills will be as crucial as schooling. Making theBest Skill Development Courses Near Me will help students succeed in their studies and careers.
With its future-oriented programmes, simple learning methods, and professional instruction, Techradiance helps students to build a solid and prosperous future.
If you wish for your child to develop and grow, as well as succeed, in learning and developing skills, this is a great first step.
Frequently Asked Questions
1. What are skill development courses?
Skill development courses teach students practical skills such as robotics, coding, and AI, as well as machine learning, to improve thinking and prepare them for their future careers.
2. Which course is best for skill development?
Robotics, coding, artificial intelligence (AI), and machine learning are the best courses to develop your skills because they help develop logic, creativity, and problem-solving abilities.
3. Which course is best for 3 months?
Short-term courses such as basic Coding, beginning robotics, or even an introduction to AI are ideal for a three-month training program for developing skills.
4. Who can join skill development courses?
Students in schools, beginning students, and anyone else looking to learn new skills can enrol in training courses for developing skills.