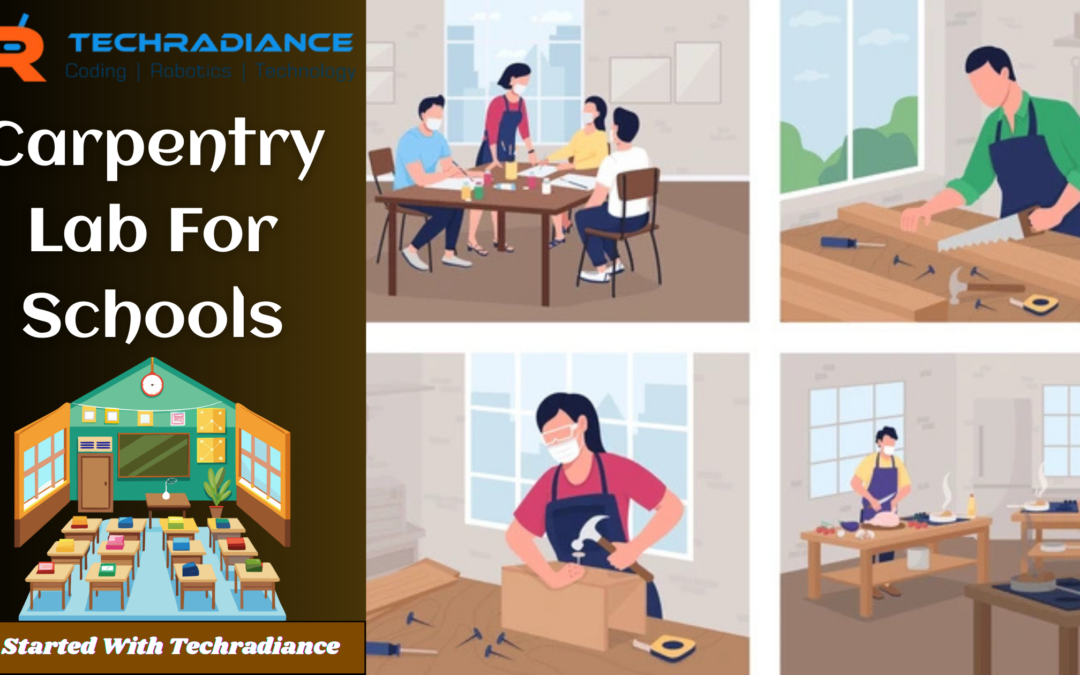
In the modern educational system, hands-on learning is as crucial as reading. One of the most effective methods to teach students how to work hands-on is to create the Carpentry Lab in schools. A well-planned carpentry laboratory helps students discover how things are made, increases the ability to think creatively, and develops the skills to solve problems at an early age.
In this tutorial from Techradiance We will discuss the basics of what a carpentry laboratory is, the reason schools should have it, and how to create it step-by-step, and the most important components, its benefits, along with tools–all in an easy-to-understand language that even a 5th-grade student will be able to comprehend the concept.
Author: Rahul, a Robotics Expert
What Is a Carpentry Lab?
The Carpentry Lab is a specific room at the school where students learn how to use wood. In this laboratory students work with simple tools to cut and shape, join and then finish wood pieces.
It’s also known as it a Woodworking Lab since students are taught basic woodworking skills such as:
- Wood measurements
- Cutting safely
- Making small wooden objects
- Understanding how tools function
This lab is geared towards the process of learning through doing, and not only by reading.
Why Do Schools Need a Carpentry Lab?
The carpentry lab in schools is needed for teaching the practical skills, creativity and self-confidence to students.
A Comprehensive Explanation
This is why each modern high school must have a workshop for carpentry:
- Students are taught practical abilities
- Improves hand-eye coordination
- Inspires creativity
- Helps students comprehend the structure and design
- Encourages students to be interested in technical and vocational education.
The carpentry workshop helps students learn in a fun and meaningful way.
Benefits of a Carpentry Lab for Students
1. Learning through Doing
Students are more able to grasp concepts when they build things themselves.
2. Enhances Creativity
Children can design and build models made of wood, toy or even furniture.
3. Increases confidence
When students complete their project, they are happy and confident.
4. Career Awareness
Students learn early about techniques used in design, engineering or skilled professions.
5. Discipline and Teamwork
In a lab, you can learn safety, teamwork and also discipline.
Key Components of a Carpentry Lab
In order to set up a good Carpentry lab , schools must include the following elements:
1. Lab Space
- A neat, well-ventilated, and clean room
- Space for students to be able to move in a safe manner
- Solid flooring for heavy-duty equipment and workbenches
2. Workbenches
- Metal or wood benches made of solid wood
- Proper height for students
- Space to secure wood pieces
3. Safety Equipment
- Safety goggles
- Hand-gloves
- Aprons
- First aid kit
Safety is the most critical aspect of any carpentry laboratory.
4. Storage Area
- Racks for wood
- Tool cabinets
- Locked storage compartment for sharp tools
Carpentry Lab Setup: Step-by-Step Guide
Step 1: Organizing the Lab
Before beginning with the carpentry lab schools must plan:
- The number of students
- The age group (primary and secondary)
- Budget
- Space available
A good plan can prevent future issues.
Step 2: Selecting the right location
- Ground floor is the most ideal
- Airflow and proper lighting
- Get away from the classrooms to lessen the amount of noise
A safe and secure location will keep students safe and secure.
Step 3: Creating the Layout
- Separate areas to be used for cutting, assembling and completing
- Walking paths that are clear
- Tools that are readily accessible
A neat layout enhances the learning process and increases safety.
Step 4: Selecting the Carpentry Tools List
Making the right choice of tools is a crucial step. Schools should begin with the basics tools that can be used by students.
Carpentry Tools List for Schools
Here’s a quick and user-friendly carpentry tool list:
Basic Tools for Measuring
- Measuring tape
- Steel ruler
- Try square
Cutting Tools
- Hand saw
- Coping was
Shaping Tools
- Wood file
- Chisel
Tools for Fixing
- Hammer
- Screwdriver
Finishing Tools
- Sandpaper
- Wooden block
These tools are simple to use and secure under the supervision of a teacher.
Carpentry Hand Tools: What Students Use First
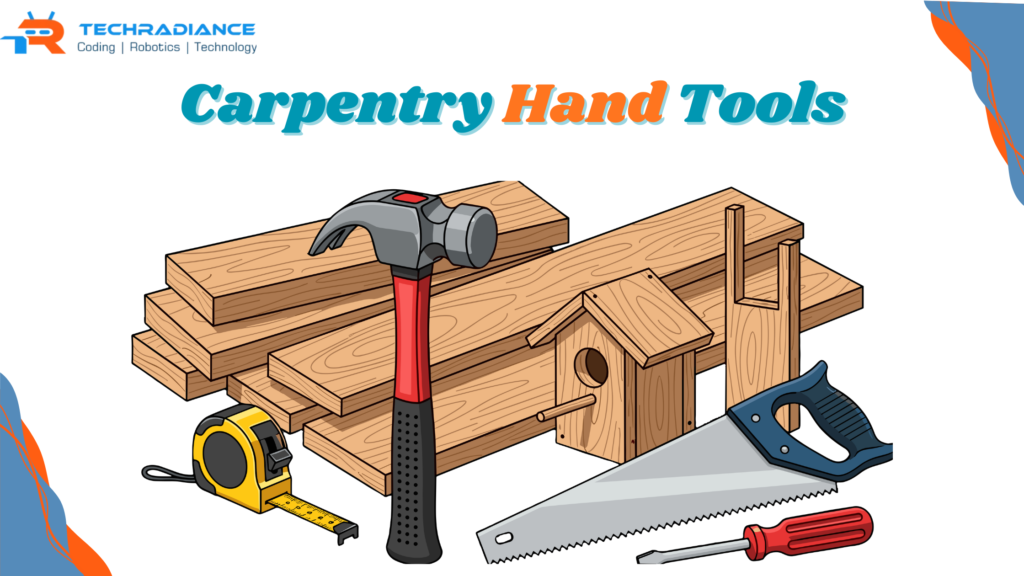
Carpentry hand tools are tools that operate without electricity. They are ideal for schools due to their safety and are less difficult to manage.
Examples include:
- Hammer for fixing nails
- Chisel to shape wood
- Hand saw to cut
- File to smooth edges
Students must always master the basics of hand tools prior to moving on to more advanced tools.
Role of a Woodworking Lab in Skill Development
A woodworking lab helps students understand:
- What happens when wood is used as raw product?
- The importance of precision and patience
- Fundamental engineering concepts
It also covers subjects such as:
- Science
- Mathematics
- Design & Technology
Learning becomes more connected and useful.
Safety Rules in a Carpentry Lab (Must Follow)
Safety rules must be explained clearly to each student:
- Always wear safety glasses
- Make use of tools only with permission from the teacher
- Keep the lab spotless
- Do not run in the lab.
- Report injuries immediately
Safety education is just as vital as skill training.
How Techradiance Helps Schools Set Up Carpentry Labs
Techradiance is a specialist in the design and establishment of modern labs for schools. Techradiance helps schools by:
- The complete carpentry lab is planned
- Lab layout design
- Tool selection
- Safety Standards
- Solutions for labs that are student-friendly
Our mission is to make education easy, safe, and efficient.
Who Can Use a Carpentry Lab?
A Carpentry lab is helpful to:
- Primary school students
- Students from middle and high schools
- Education programs based on skills
- Vocational instruction courses
It can be adapted depending on the age of the student and the level of learning.
What Schools Say About Techradiance Carpentry Labs
Testimonial 1
“Techradiance assisted us in setting the carpentry lab for our students. Tools are safe, and students enjoy the hands-on approach to learning.”
-Principal, CBSE School. Director, CBSE School
Testimonial 2
“The carpentry laboratory developed by Techradiance is straightforward, well-organized, and ideal for students in schools.”
-“School Administrator” The School’s Administrator
Testimonial 3
“Our pupils are much more comfortable and imaginative after working in the woodworking lab. Great help provided by Techradiance.”
— Science Coordinator
Testimonial 4
“From the planning stage to the execution phase, Techradiance made the carpentry lab set-up simple and secure for our school.”
— Academic Director
Final Thoughts
Setting up a carpentry laboratory isn’t just about tools and wood; it’s about creating skills for the future. If students learn using them, they learn better and improve their skills faster.
If your school is looking to provide practical education in a straightforward and secure method, and needs a Carpentry Lab is an ideal way to begin. Techradiance will be there to assist you every step of the way.
Frequently Asked Questions
1. What are 5 carpentry tools?
Five commonly used tools for carpentry include a hammer and handsaw, a chisel, a measuring tape, and screwdriver. These tools can be used to cut, form, and measure, as well as fix the wood.
2. What is the work of carpentry?
Carpentry involves making and fixing wooden pieces like doors, tables, shelves, and smaller models by joining and cutting wood.
3. What is level 4 carpentry?
Carpentry at Level 4 is a higher level of learning in which students tackle larger projects, utilise more tools, and master the design, precision, and safety in great detail.
4. What tools are needed in a school carpentry lab?
A carpentry workshop at school requires basic hand tools like a hammer, handsaw and chisel. Also measurement tapes, screwdrivers Sandpaper, as well as safety gear.
5. What is included in a carpentry lab setup?
A carpentry laboratory setup includes an area for safe practice and workbenches and storage units, hand tools for carpentry safety gear, and wooden tools for practising.