
Best Automatic Plant Watering System Using Arduino in 2026
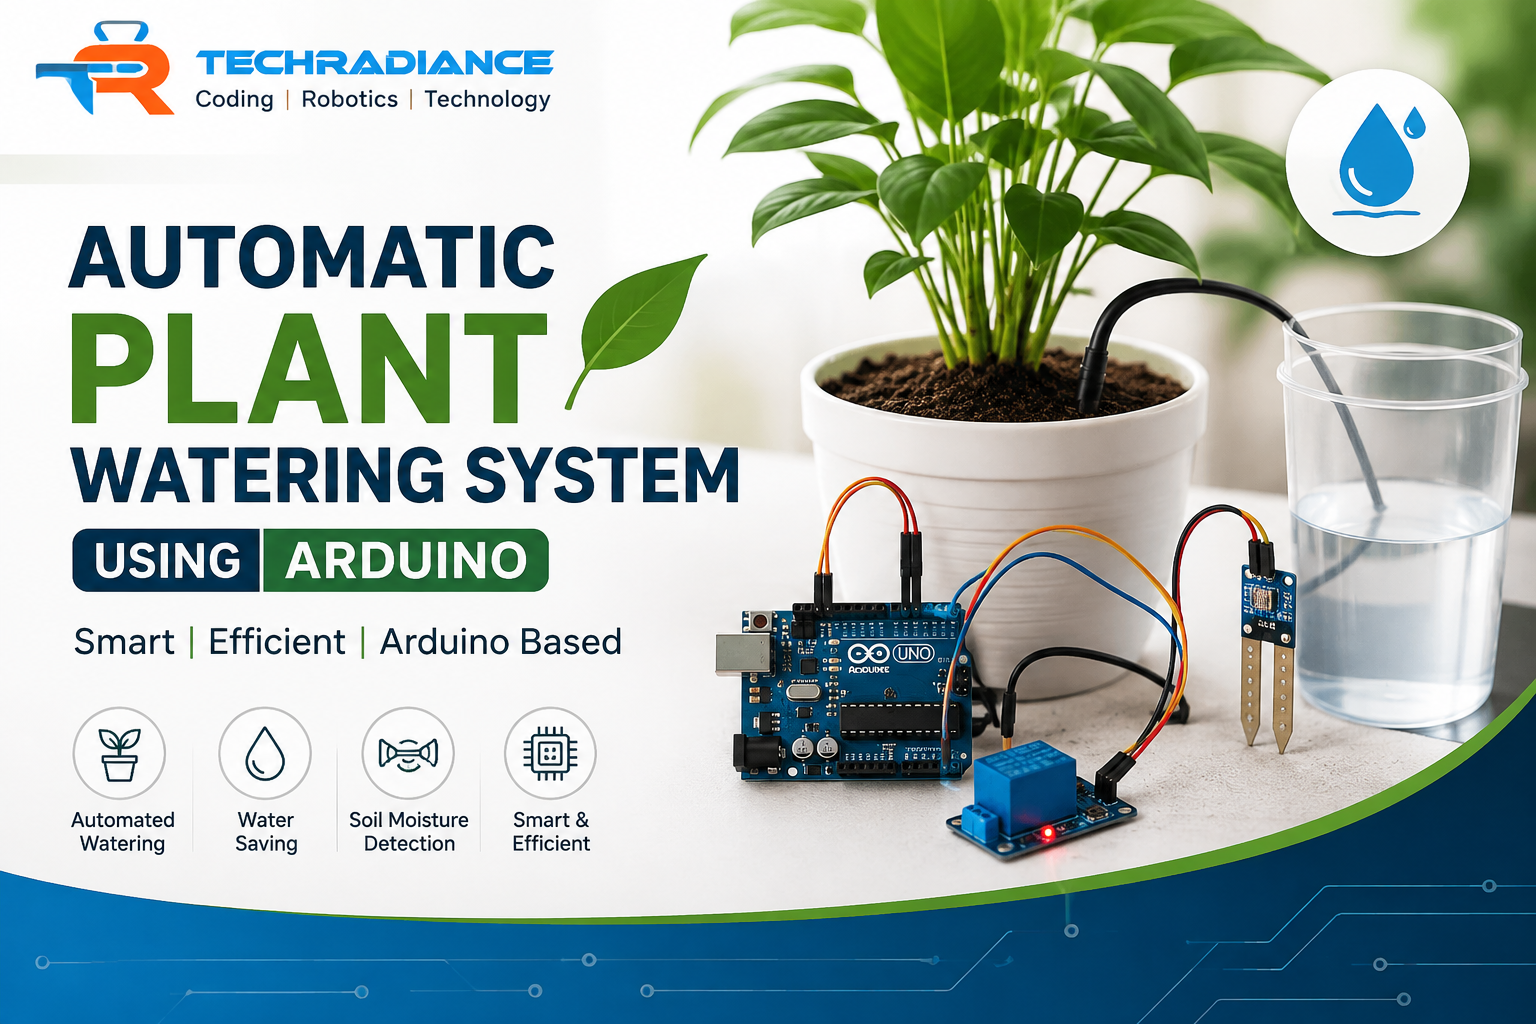
Plants need water to grow; however, watering them daily isn’t always easy. Sometimes we forget to water them, and often we overdo it. An Automatic Plant Watering System Using Arduino can solve this issue by analyzing the moisture level in the soil and supplying the plant with water when it is in need of it.
This is an easy and effective electronics project that is suitable for school children as well as robotics labs, STEM laboratories, and beginners who wish to master Arduino.
In this article, we will discuss what an automated plant watering system does, how it functions, why it’s useful, what components are needed to build it, how students can make it, and how it can be made smarter by enhancing it into a machine for watering plants.
Author: Himanshu ( Content Writer)
What Is an Automatic Plant Watering System Using Arduino?
An Automated Plant Watering System using Arduino is a program that automatically waters a plant when the soil becomes dry.
The system uses a soil moisture sensor to measure the amount of water in the soil. The sensor relays this information via an Arduino board. When the soil becomes too dry, the Arduino turns on a small water pump. The pump pumps liquid water into the.
If the soil is moist enough, the Arduino switches the pump off.
In simple terms:
Dry soil Sensor detects dryness; Arduino pumps water to the plant. If the soil is wet, the Arduino shuts down the pump
This makes the project easy sufficient for kids to grasp while teaching students about programming, sensors, electronic devices, automation, and electronics.
How Does an Automatic Plant Watering System Work?
The functioning of an automated plant watering system project is based on soil moisture.
Here’s the fundamental process:
- The soil moisture sensor is placed in the soil.
- The sensor measures the level of moisture.
- Arduino is able to read the sensor’s information.
- When the ground is not dry, the Arduino transmits an alert to the motor driver or relay.
- The water pump is activated.
- The plant is supplied with water via the pipe that is small.
- If the soil is sufficiently saturated, the Arduino stops the pump.
The system will repeat the process at any time that the soil gets dry.
This is the reason why this project is also referred to as an automatic irrigation system project. Instead of a human being making the decision of what time is right to water plants, the system decides on the basis of water level.
Why Do We Need an Automatic Plant Watering System?
Have you ever been unable to water your plants?
It’s a common occurrence for almost everyone.
Plants may become weak if they don’t receive sufficient water. However, providing too much water could also harm some plants.
An automated plant watering system aids in maintaining a routine of watering.
It is particularly useful for the following scenarios:
- You’re far from your home.
- You have a lot of plants.
- It is often difficult to remember to water your plants.
- You’d like to reduce your water usage.
- You want your students to be educated about automation.
- You’re looking to design an intelligent gardening plan.
The main idea behind this project is quite simple: to water the plant only when it actually requires water.
Components Required for the Project
A simple plant watering system is built using components that are readily available.
Main components:
| Component | Purpose |
| Arduino Uno | Controls the entire system. |
| Soil Moisture Sensor | Verifies whether the soil is moist or dry. |
| Mini Water Pump | Transfers water to the plant. |
| Relay Module | Switches the pump on and off |
| Water Container | Water storage |
| Connecting Tubes | Transports water to the plant |
| Jumper Wires | Connects components |
| Breadboard | Aids in making connections for temporary periods |
| Power Supply | Provides electricity |
Students can begin with a basic setup, and then add additional devices and sensors.
How to Make an Automatic Plant Watering System Using Arduino
The process of building the project can be broken down into a couple of easy steps.
Step 1: Prepare the Plant
Choose a small-sized plant and put it in a pot. Be sure that the plant is planted in adequate soil.
Step 2: Place the Moisture Sensor
Place your soil-moisture sensor in the soil around the plant’s roots.
The sensor will determine the amount of moisture present in the soil.
Step 3: Connect the Sensor to Arduino
Connect the sensor to the Arduino board in accordance with the pins that are required by the sensor.
The sensor relays information to the Arduino. Arduino can read it.
Step 4: Connect the Water Pump
Connect the water pump with a suitable relay or motor control circuit.
The pump shouldn’t be directly connected to an Arduino pin, as the pump requires more current than what the Arduino pin is able to safely supply.
Step 5: Add the Water Container
Maintain a small water tank close to the plant. Install the pump in the container. Connect the pump’s tube to the pot for the plant.
Step 6: Upload the Program
Upload or write the Arduino program, which tells the Arduino when to stop and start the pump.
Step 7: Test the System
Let the soil dry and then observe what happens.
The sensor should be able to detect a dry state, and the Arduino will start the pump.
Pour water into the soil and observe if the pump stops when the desired moisture level has been attained.
What Is the Role of Arduino in the Project?
Arduino functions as the central brain for the system.
The moisture sensor collects data but does not determine what to do with it.
Arduino detects the sensor’s reading and then follows the directions in the program.
For instance:
“If your soil appears dry, then turn on the pump.”
And:
“If the soil is moist enough, it is time to turn off the pump.”
Students are taught a crucial notion in robotics and automation:
Input – Processing – Output
- For input: Sensor for moisture in soil
- Processing: Arduino
- Output: Water pump
This concept is utilised in a variety of real-world automated machines.
What Is a Smart Plant Watering System?
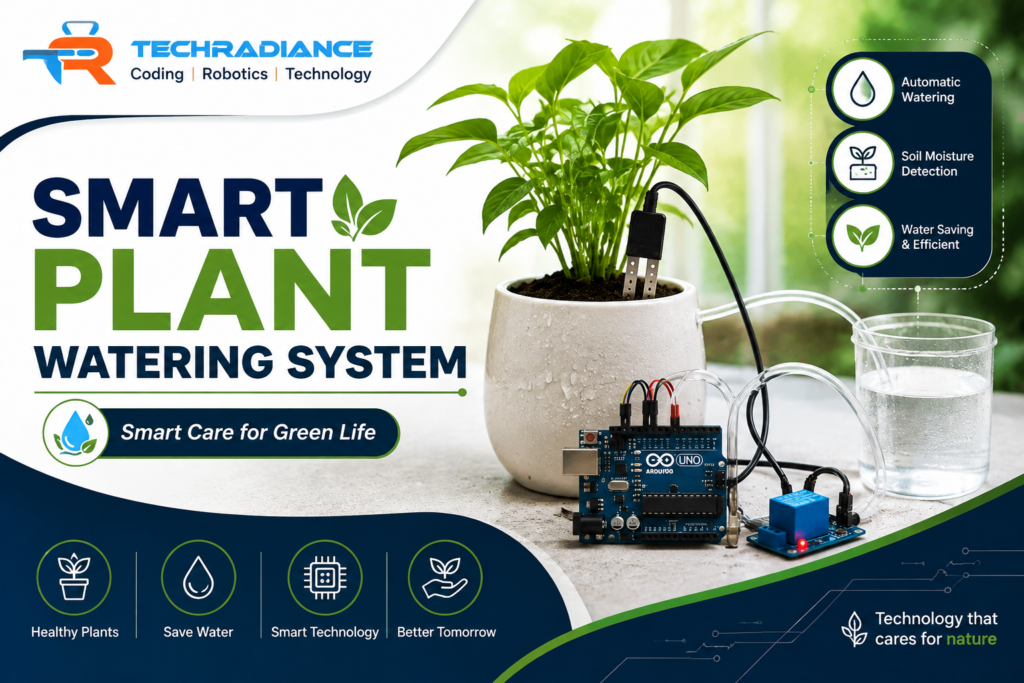
A basic automated system can water a plant on a regular basis. A smart plant watering system could go an extra step.
It could include additional options, for example:
- Monitoring of temperature
- Monitoring of humidity
- Water-level detection
- LCD display
- Mobile notifications
- Wi-Fi connectivity
- IoT monitoring
- Automated watering schedules
- Multiple plant monitoring
For instance, an Arduino-based device can connect to the IoT platform. Users can check the conditions of the plant with their smartphone.
This transforms a basic school project into a sophisticated smart agriculture or IoT project
Automatic Plant Watering System vs Manual Watering
| Manual Watering | Automatic System |
| Does one require a person | Functions in an automatic way |
| It is easy to forget | Can monitor the moisture conditions |
| May use too much water | Reduces the need for watering |
| Requires regular attention | Do not require the same attention every day. |
| It is suitable for a small number of plants | The possibilities are endless for expanding the number of plants |
The objective is not to replace human beings. Instead, automation can help people better manage plants.
Benefits of an Automatic Plant Watering System
An automatic plant watering system project provides many advantages for both gardeners and students.
1. Saves Time
The system allows plants to be watered without a person standing nearby.
2. Helps Avoid Overwatering
The system is programmed to supply water to plants when the soil reaches an appropriate level of dryness.
3. Helps Save Water
Water can be pumped out according to the condition of the water instead of irrigating plants excessively.
4. Great for Student Learning
Students can learn programming with Arduino sensors, circuits, and sensor automation, and problem-solving in one project.
5. Can Be Upgraded
Students may include IoT displays, IoT sensors, as well as mobile alerts in the future.
6. Useful for STEM Education
The project combines engineering, science, technology, and maths through a single, practical task.
How Can Students Improve This Project?
Once they have mastered the fundamental method, they can build it more sophisticated.
Here are some intriguing ideas:
Add a Water-Level Sensor
A sensor that monitors water levels can inform the system that the tank for storage is empty.
Add an LCD Display
The display may show information like:
Soil Moisture: 65% Pump: OFF
Add Temperature and Humidity Sensors
Students are able to gather additional details about the environment of the plant.
Add IoT
With the right equipment, students are able to send sensor data to a dashboard online or a mobile app.
Add Multiple Plants
The most advanced systems can be able to monitor multiple plants and supply water to pots in different locations.
These upgrades can transform a simple automatic irrigation system project into a fully smart model of agriculture.
Where Can This Plant Watering System Be Used?
This project is a great idea to use in a variety of places, such as:
- Homes
- School gardens
- STEM labs for schools
- Robotics labs
- Greenhouses
- Small farms
- Nurseries
- Terrace gardens
- Indoor gardens
Schools could also utilise the project as an interactive project for students.
What Do Students Learn From This Project?
This project isn’t just about watering plants.
Students can study:
- Arduino programming
- Basic electronic
- Sensor technology
- Automation
- Problem-solving
- Logical thinking
- Circuit connections
- Environmental awareness
- Conservation of water
- Basic IoT concepts
Students also learn about how technology can help solve everyday problems.
This is among the most significant benefits of project-based STEM learning.
Testimonials From Student Project Learning
“This project has helped me to understand the way sensors and Arduino are interconnected. It was much easier to grasp by seeing the pump working .” – Students, School STEM Project
“I loved the idea of automated watering as it solved a real issue. We also learned about coding while learning about water and plants.
— student, Robotics Learning Program
“The project was an interesting experience in electronics for me. I was able to understand how Arduino can read data from sensors and control the other gadget .”>
-” Students, School Robotics Lab
“Building the system for watering helped help us comprehend the process of automation in a straightforward method. We were able to test the system to find any flaws, then enhance it .” -“ Student STEM activity
“We began with a basic model for watering the plant, and later we thought about the possibility of adding IoT features. It helped us understand how a simple project could become a larger tech answer .”>
-” – Students, Innovation Project
Why Choose Techradiance for Robotics and STEM Projects?
Techradiance is a place where students can learn about technology. Techradiance students are able to explore technologies through hands-on and project-based learning.
Instead of reading only about robotics, programming, AI, IoT, and STEM, students can gain knowledge by creating projects, testing, and improving real-world projects.
Projects like an Automatic Plant Watering System Using Arduino help students understand the ways technology can be used to solve real-world issues.
Techradiance is a company that focuses on the areas of learning that require hands-on involvement, such as:
- Robotics
- STEM Education
- Artificial Intelligence
- Coding
- IoT
- Electronics
- Innovation Projects
- Robotics Competitions
- School Technology Labs
The idea is to aid students in learning about technology through creating useful products using it.
Final Thoughts:
An Automatic Plant Watering System Using Arduino. This is a very simple but effective project to learn automation.
It teaches students how a sensor could gather data, how Arduino makes an informed decision, and how a pump acts.
The project could start with a simple automated watering system for plants but later evolve into a smart system for watering plants using IoT mobile monitoring, temperature sensors, water level detection, and many other intelligent features.
It is an excellent example of how project-based learning could bring together electronic coding and environmental science, robotics, in addition to STEM education.
The most important thing to learn is not about what to do with building the project. It’s about learning how to ask questions.
“What issue is technology able to solve, and how can we develop an answer?”
The real challenge begins.
Frequently Asked Questions ( FAQ’S)
How does an automatic plant watering system know when to water?
A soil moisture sensor is a device that measures the soil’s moisture. Arduino analyses the sensor’s data and turns on the pump if the soil is too dry.
Can I make an automatic plant watering system with Arduino?
Yes. A soil moisture sensor is a device that measures the soil’s moisture. Arduino analyses the sensor’s data and begins the pump if the soil is too dry.
Is this project suitable for school students?
Yes. The project’s basic structure is appropriate for students learning robotics, electronics or STEM-related concepts. Teachers must be in charge of electrical connections and water-related experiments.
Does an automatic plant watering system save water?
It will help to reduce the need for watering since the system can be programmed to react to soil moisture, rather than following a set watering schedule
Can this project be converted into an IoT project?
Yes. Students can also add Wi-Fi or IoT equipment to monitor moisture and other important data remotely.